Several years after building my home Network Attached Storage (NAS) server, I was spending a lot of time thinking about backups. The ZFS file system running in a RAID-Z2 configuration ensures that it would require 3 disk failures to loose data. However, as has been written about at great length across the Internet, RAID is not equivalent to a backup. Even with disk redundancy you are at risk of system failures, bugs destroying data, floods, fires, and good old fashioned operator error. My grand scheme for backing up the family data was to do so via several mechanisms, one of which was automated off-site replication. Conveniently, this also gave me a great excuse to build another machine.
First, where would this live? My parent’s place immediately came to mind. My dad has a fair amount of computer equipment himself, so an extra machine wouldn’t be too out of place. What’s more, with his professional work and photography past-time, he had ongoing need for backup storage himself. He had been meeting that need via external USB drives, but they are a bit of a pain to manage with their high failure rate. So I proposed a deal: in exchange for some desk space and a few dollars of electricity a year, I would over-provision the machine to the tune of 2x my own needs and make the other half available for his use. He was immediately on-board, and we were off to the races.
Chassis
With my off-site server’s home established, it was time to plan the build. I needed something compact enough to live quietly and unobtrusively tucked away in a corner. It also needed to be easy to service. My parents live in another state, so disk replacements would need to be manageable without my physical presence. Finally, I wanted the power draw to be low so that the NAS wouldn’t make much of a bump in the power bill.
I considered the Fractal Design Node 304. I have used Fractal Design for a number of computer builds, and I really like the simplicity and high quality of their cases. This one seemed to be no exception–the case is compact and features some smart ventilation choices. You can see a really excellent writeup of a NAS build in this chassis in the Freenas forums. However, the 304 has a few downsides. Foremost among them, it would definitely not be serviceable by my father. Accessing the hard drives requires removing the cover and pulling drives from a mounting bracket wedged over the motherboard. With the cabling in place, it would be a major chore. The more I considered it, the more this case seemed to be a non-starter.
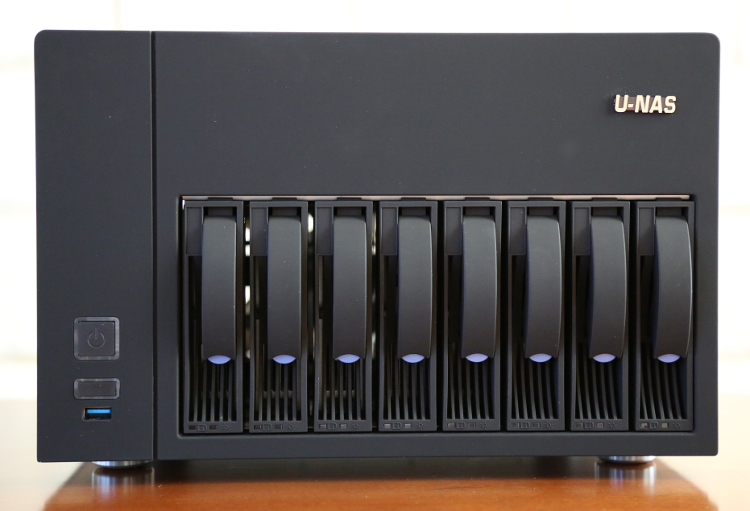
Fortunately, I found a great alternative from a company called U-NAS: the U-NAS NSC-810A chassis. It is very compact at 17 liters, and features front panel HDD trays mounted on an SATA/SAS backplane. Disk replacement will be as simple in this chassis as it possibly could be. There were only a few things giving me pause. First, getting it required purchasing directly from the seller in China. While this isn’t terrible, I had never done so and was worried about dealing with any sort of defects. More concerning, my research turned up several builders who talked at length about how difficult it was to build in the chassis. They spoke of challenging disassembly and cramped, unmanageable spaces. I had built small form factor machines before, but maybe this would be more than I wanted to deal with.
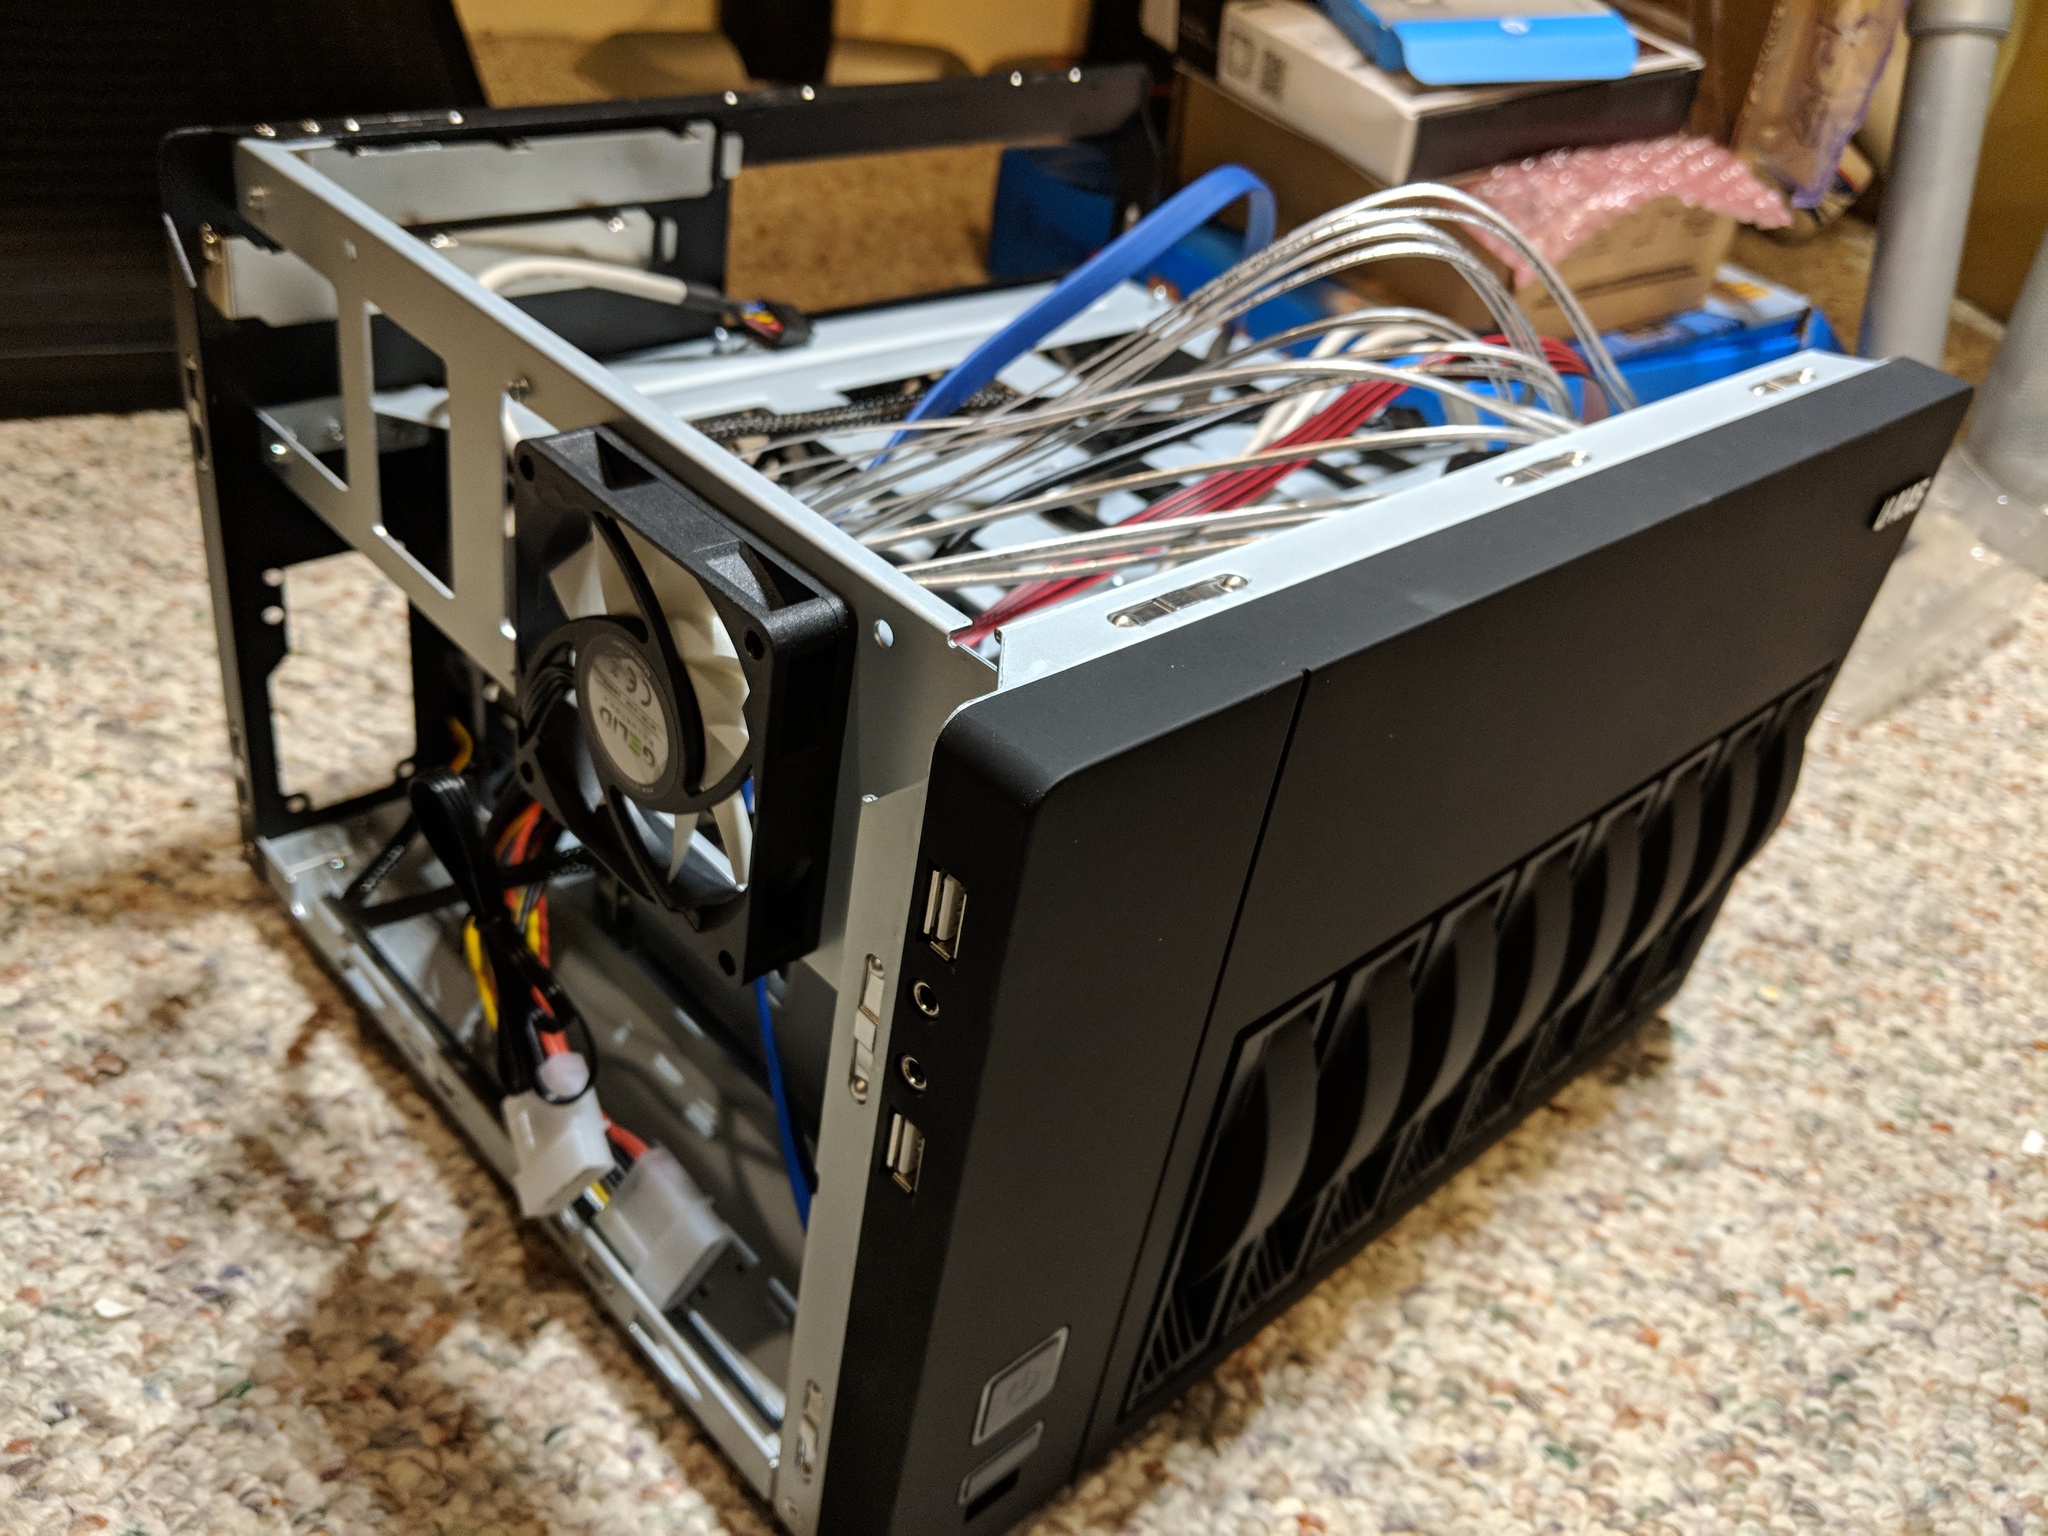
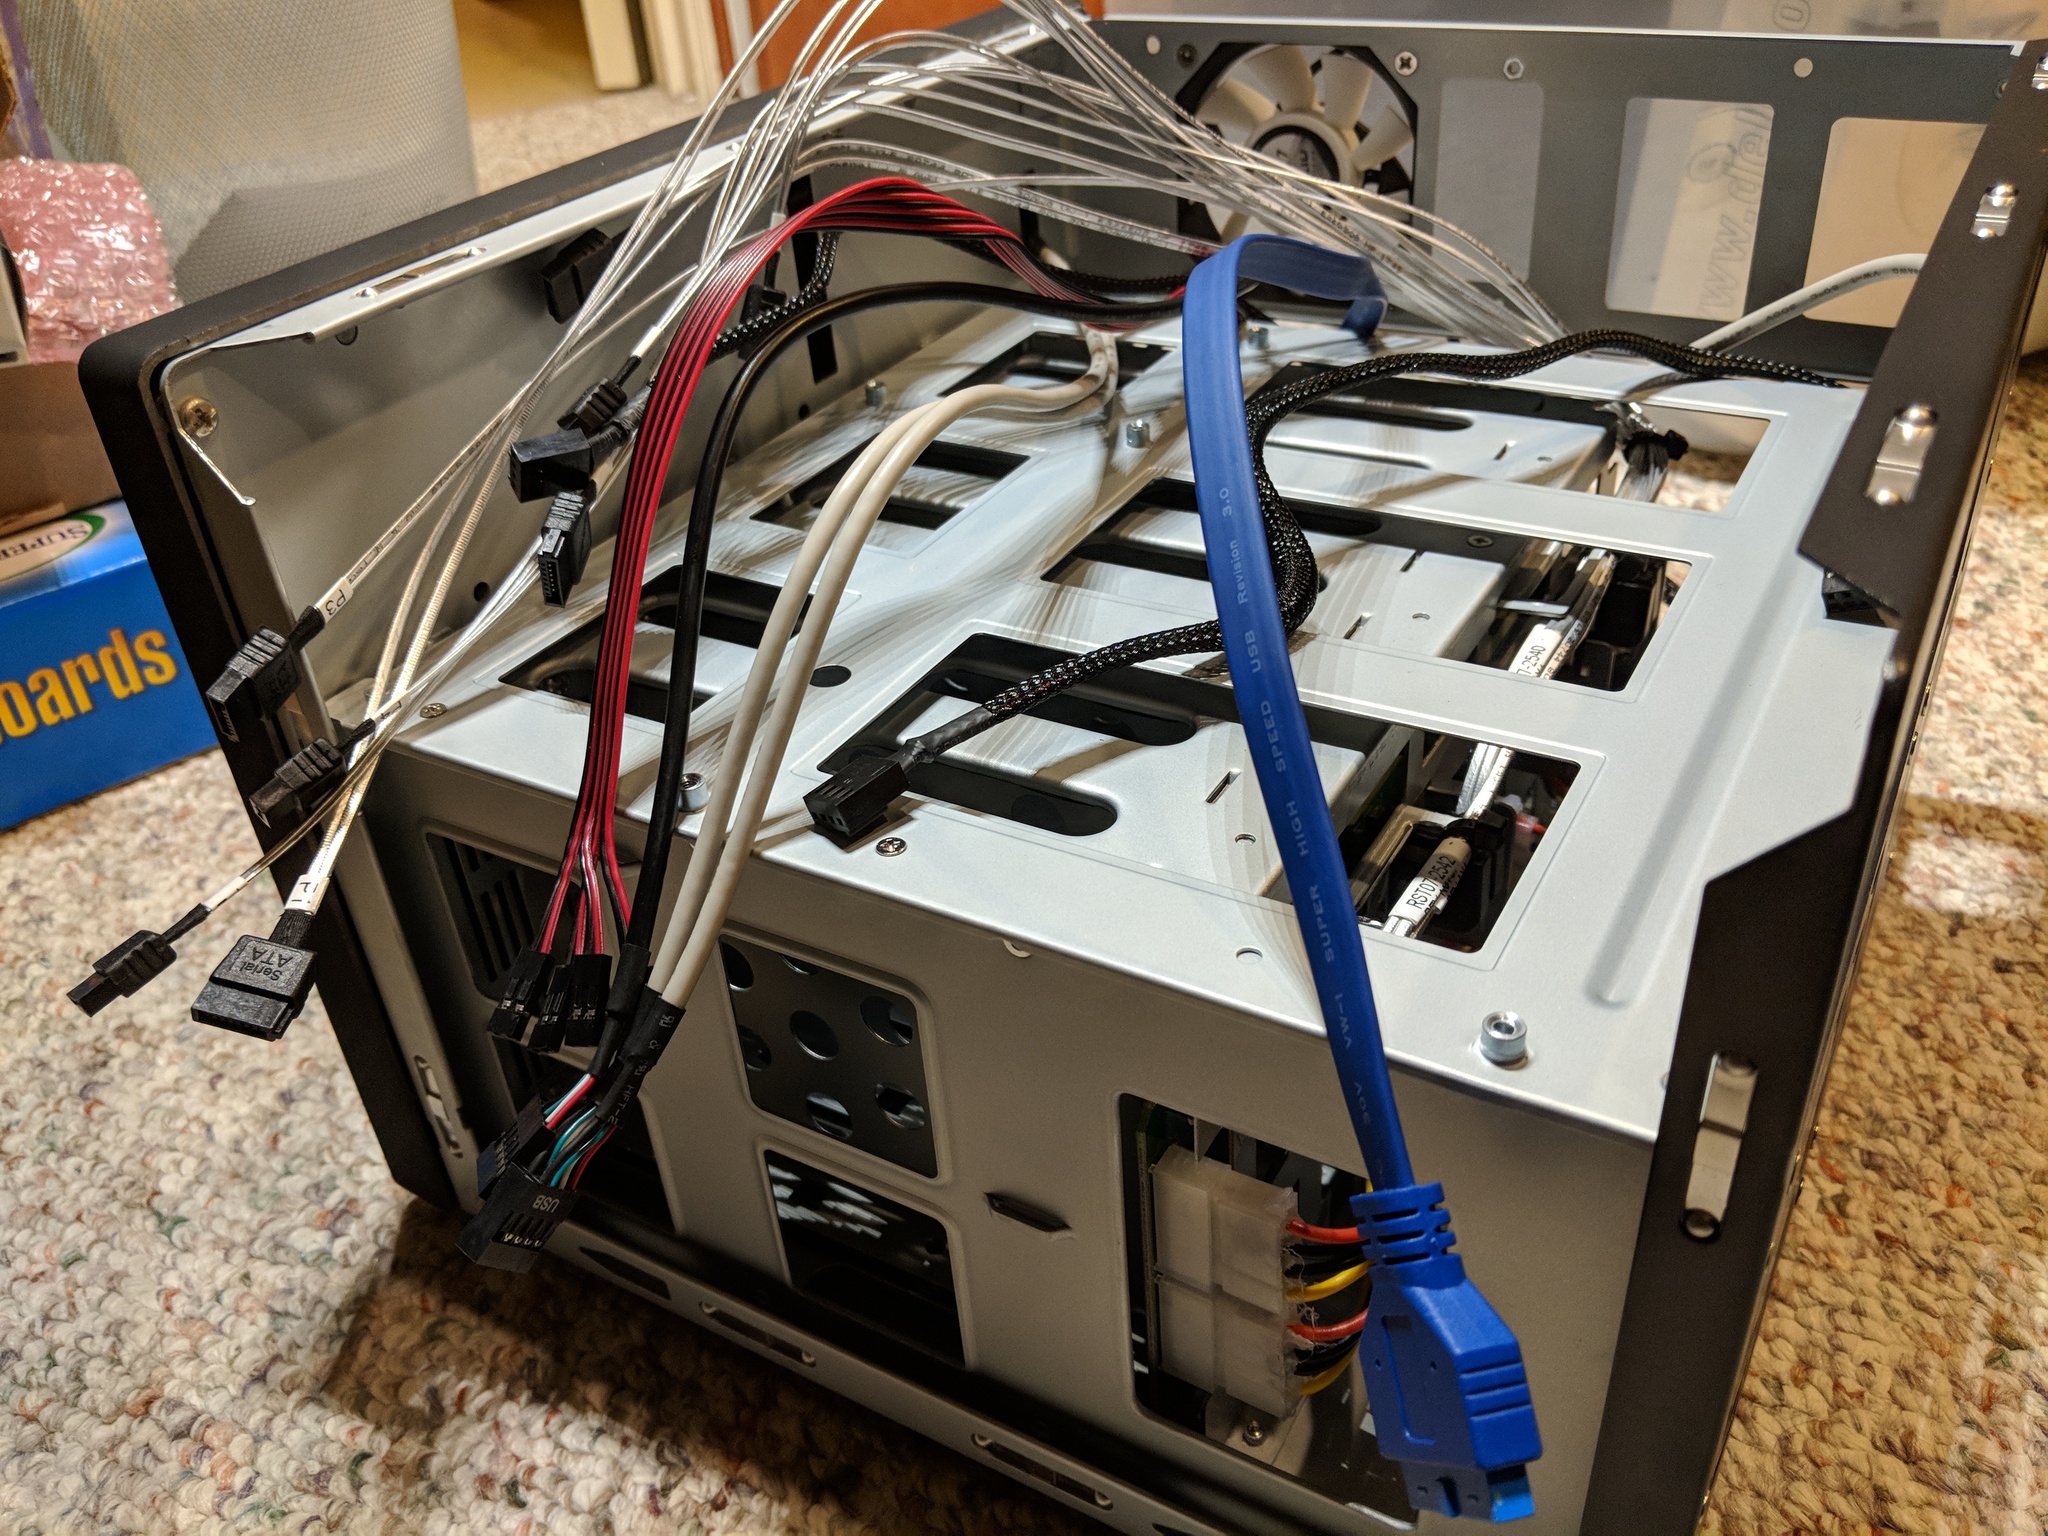
In the end I pulled the trigger and was very pleased with the outcome. The chassis arrived on schedule from an address in China, very well packed and in great condition. The seller was terse but responsive, so I have no complaints there. The photos below show the chassis as it was with the outer case removed. The top bay holds a motherboard up to mATX in size, while the space on the side is sufficiently large for a 1U power supply. The primary ventilation consists of two 120mm fans blowing out the back, pulling air over the disks. A third 60mm fan blows out of the top motherboard compartment. The chassis comes with several USB connectors, along with the SATA power and data cables required for connecting the backplane. The SATA data cables were very thin, a feature I have never seen in included cables before. A nice option for a small space, though I ended up replacing them with SAS breakout cables from the HBA.
The U-NAS chassis is definitely not easy to get in to. Removing the cover starts with unscrewing 8 or so tiny screws, and then getting in to the back fan compartment involves removing even more. It requires a bit of patience, but in the end it was fun to work with. I had no troubles completing the build.
Chassis - Front
The hard drive bays include a latch that opens for easy removal.
Chassis - Top
The top bay holds the motherboard and PCI devices.
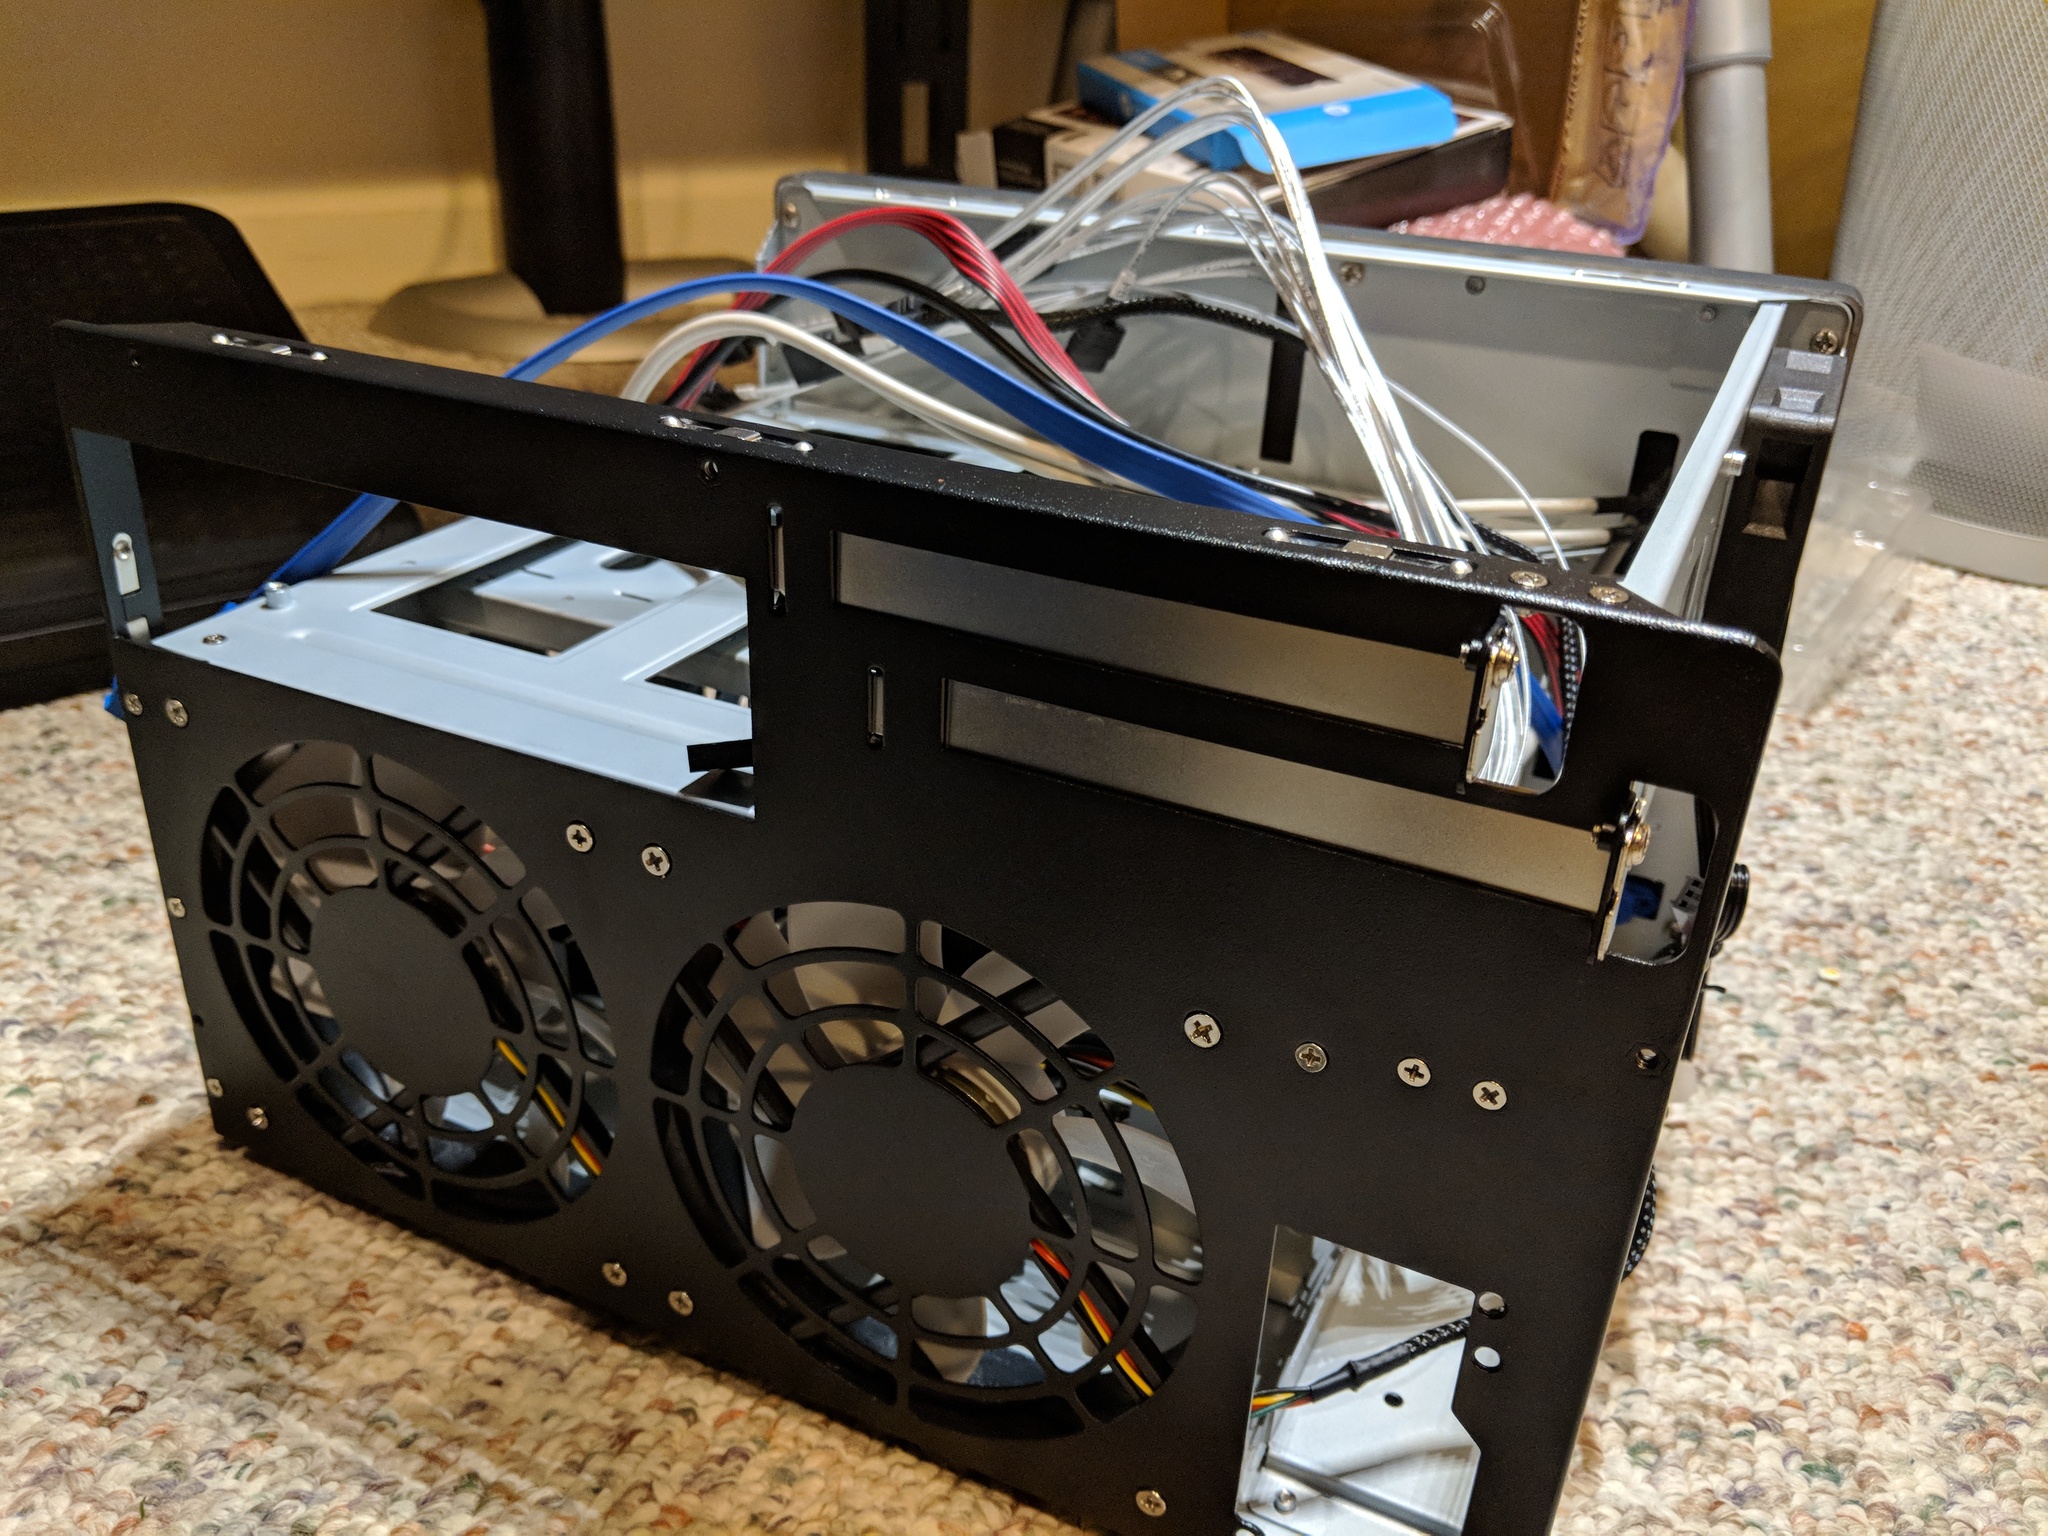
Chassis - Rear
The rear fans both blow out of the case, drawing air through the hard drive bays.
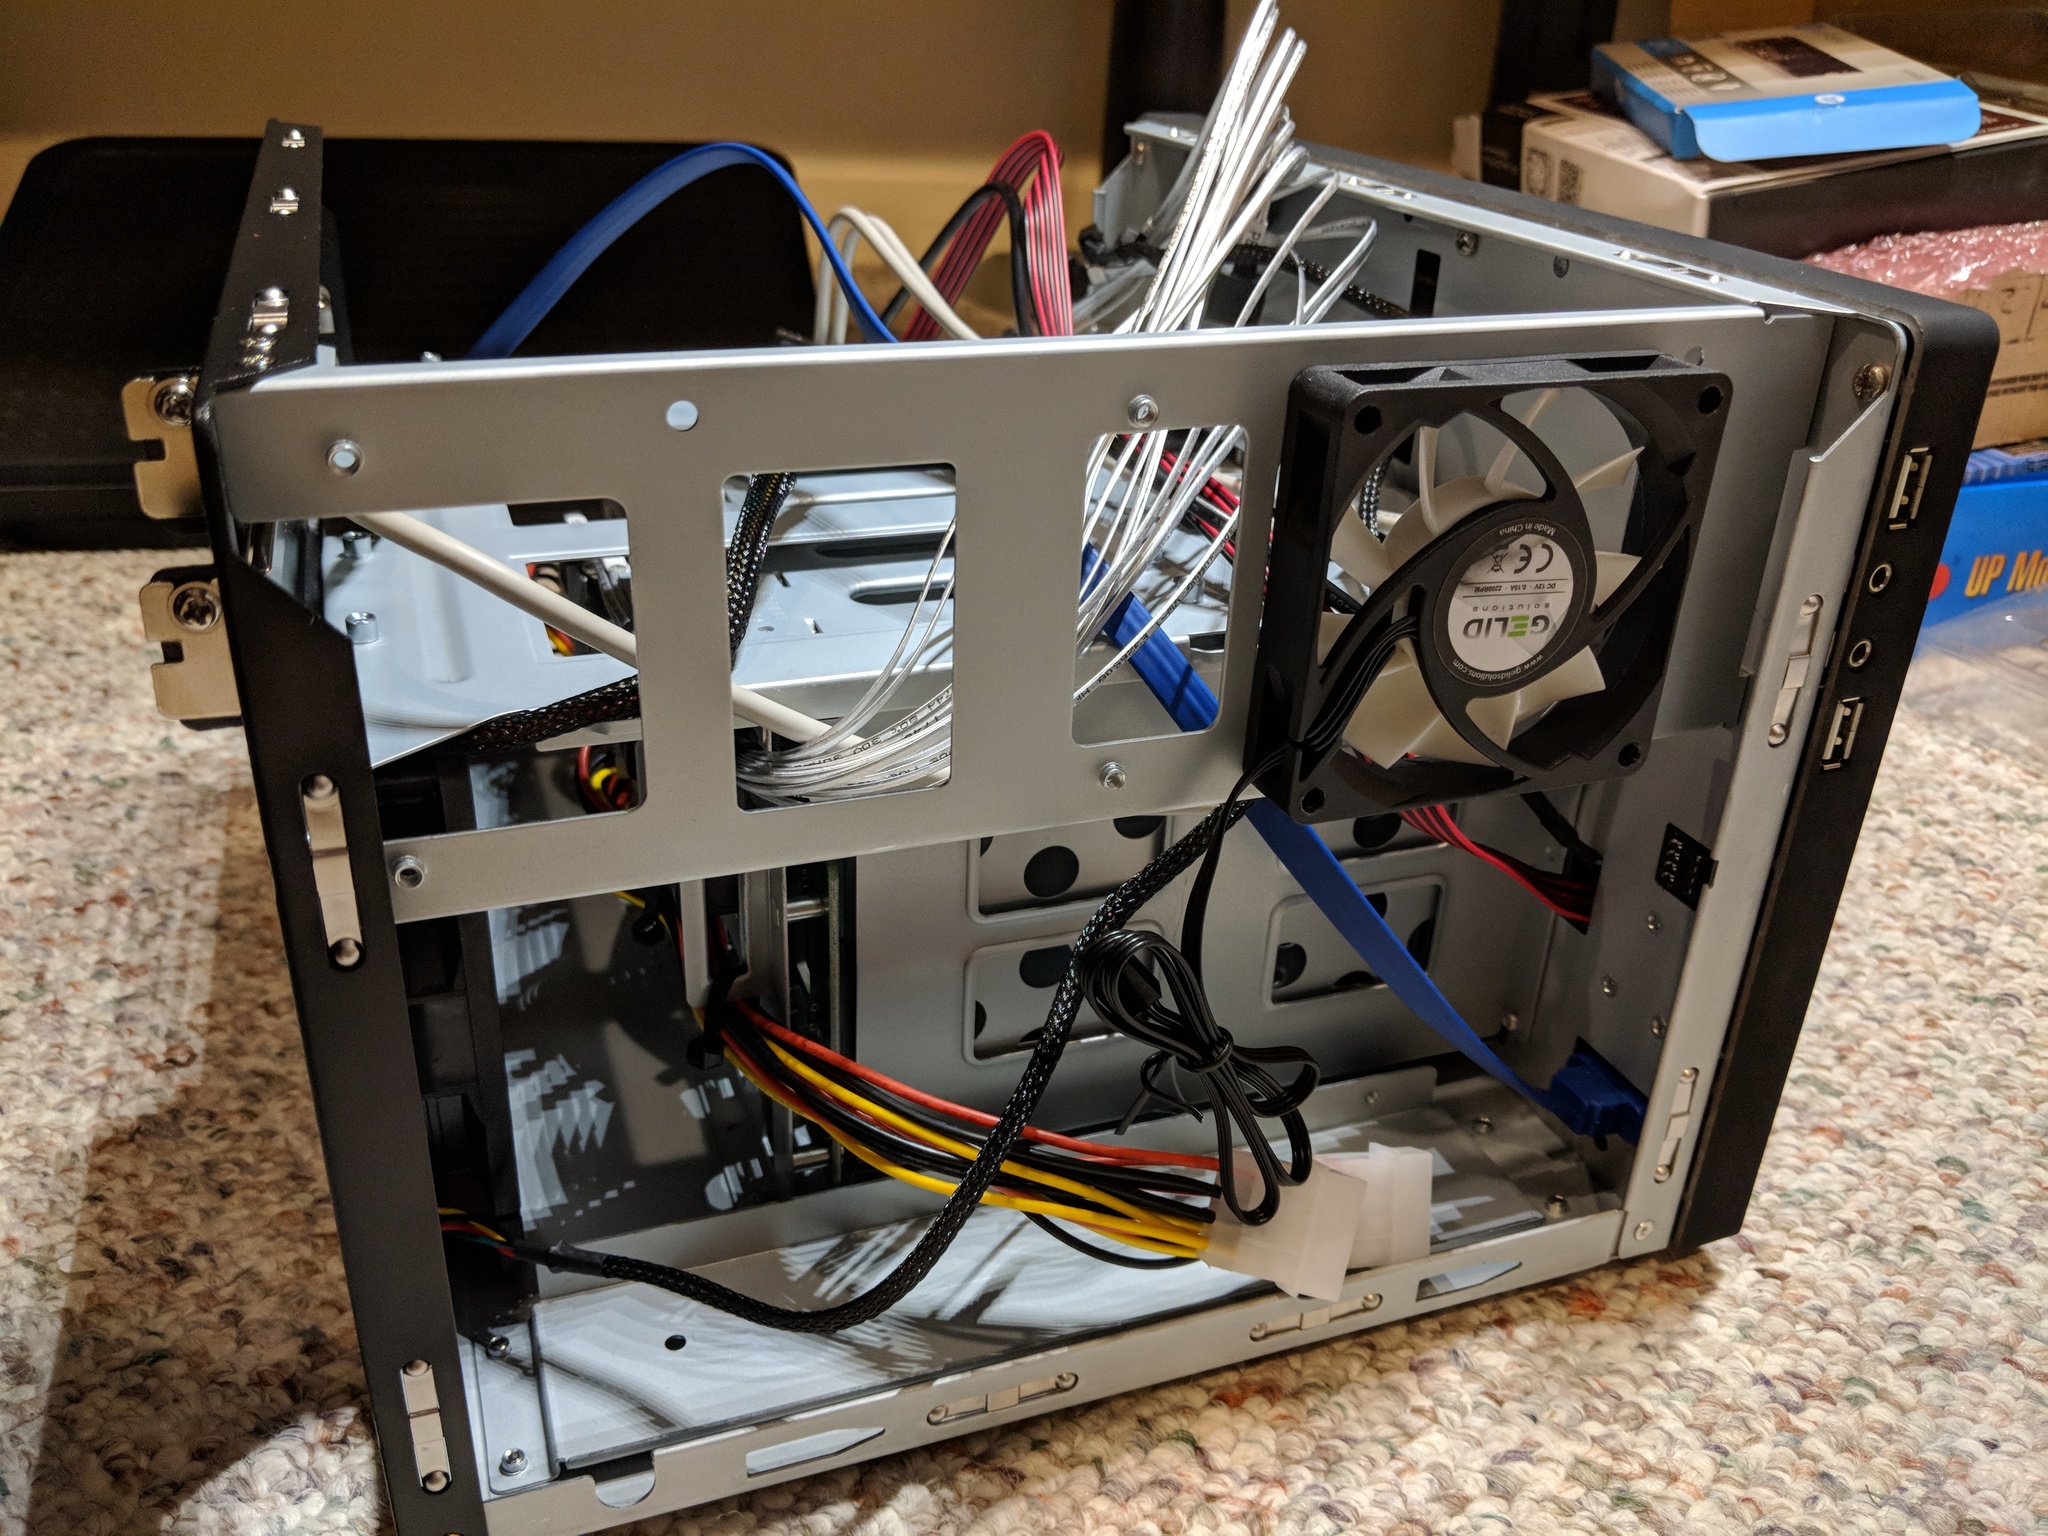
Chassis - Left
The small fan ventilates the motherboard compartment, and the space below houses the power supply.
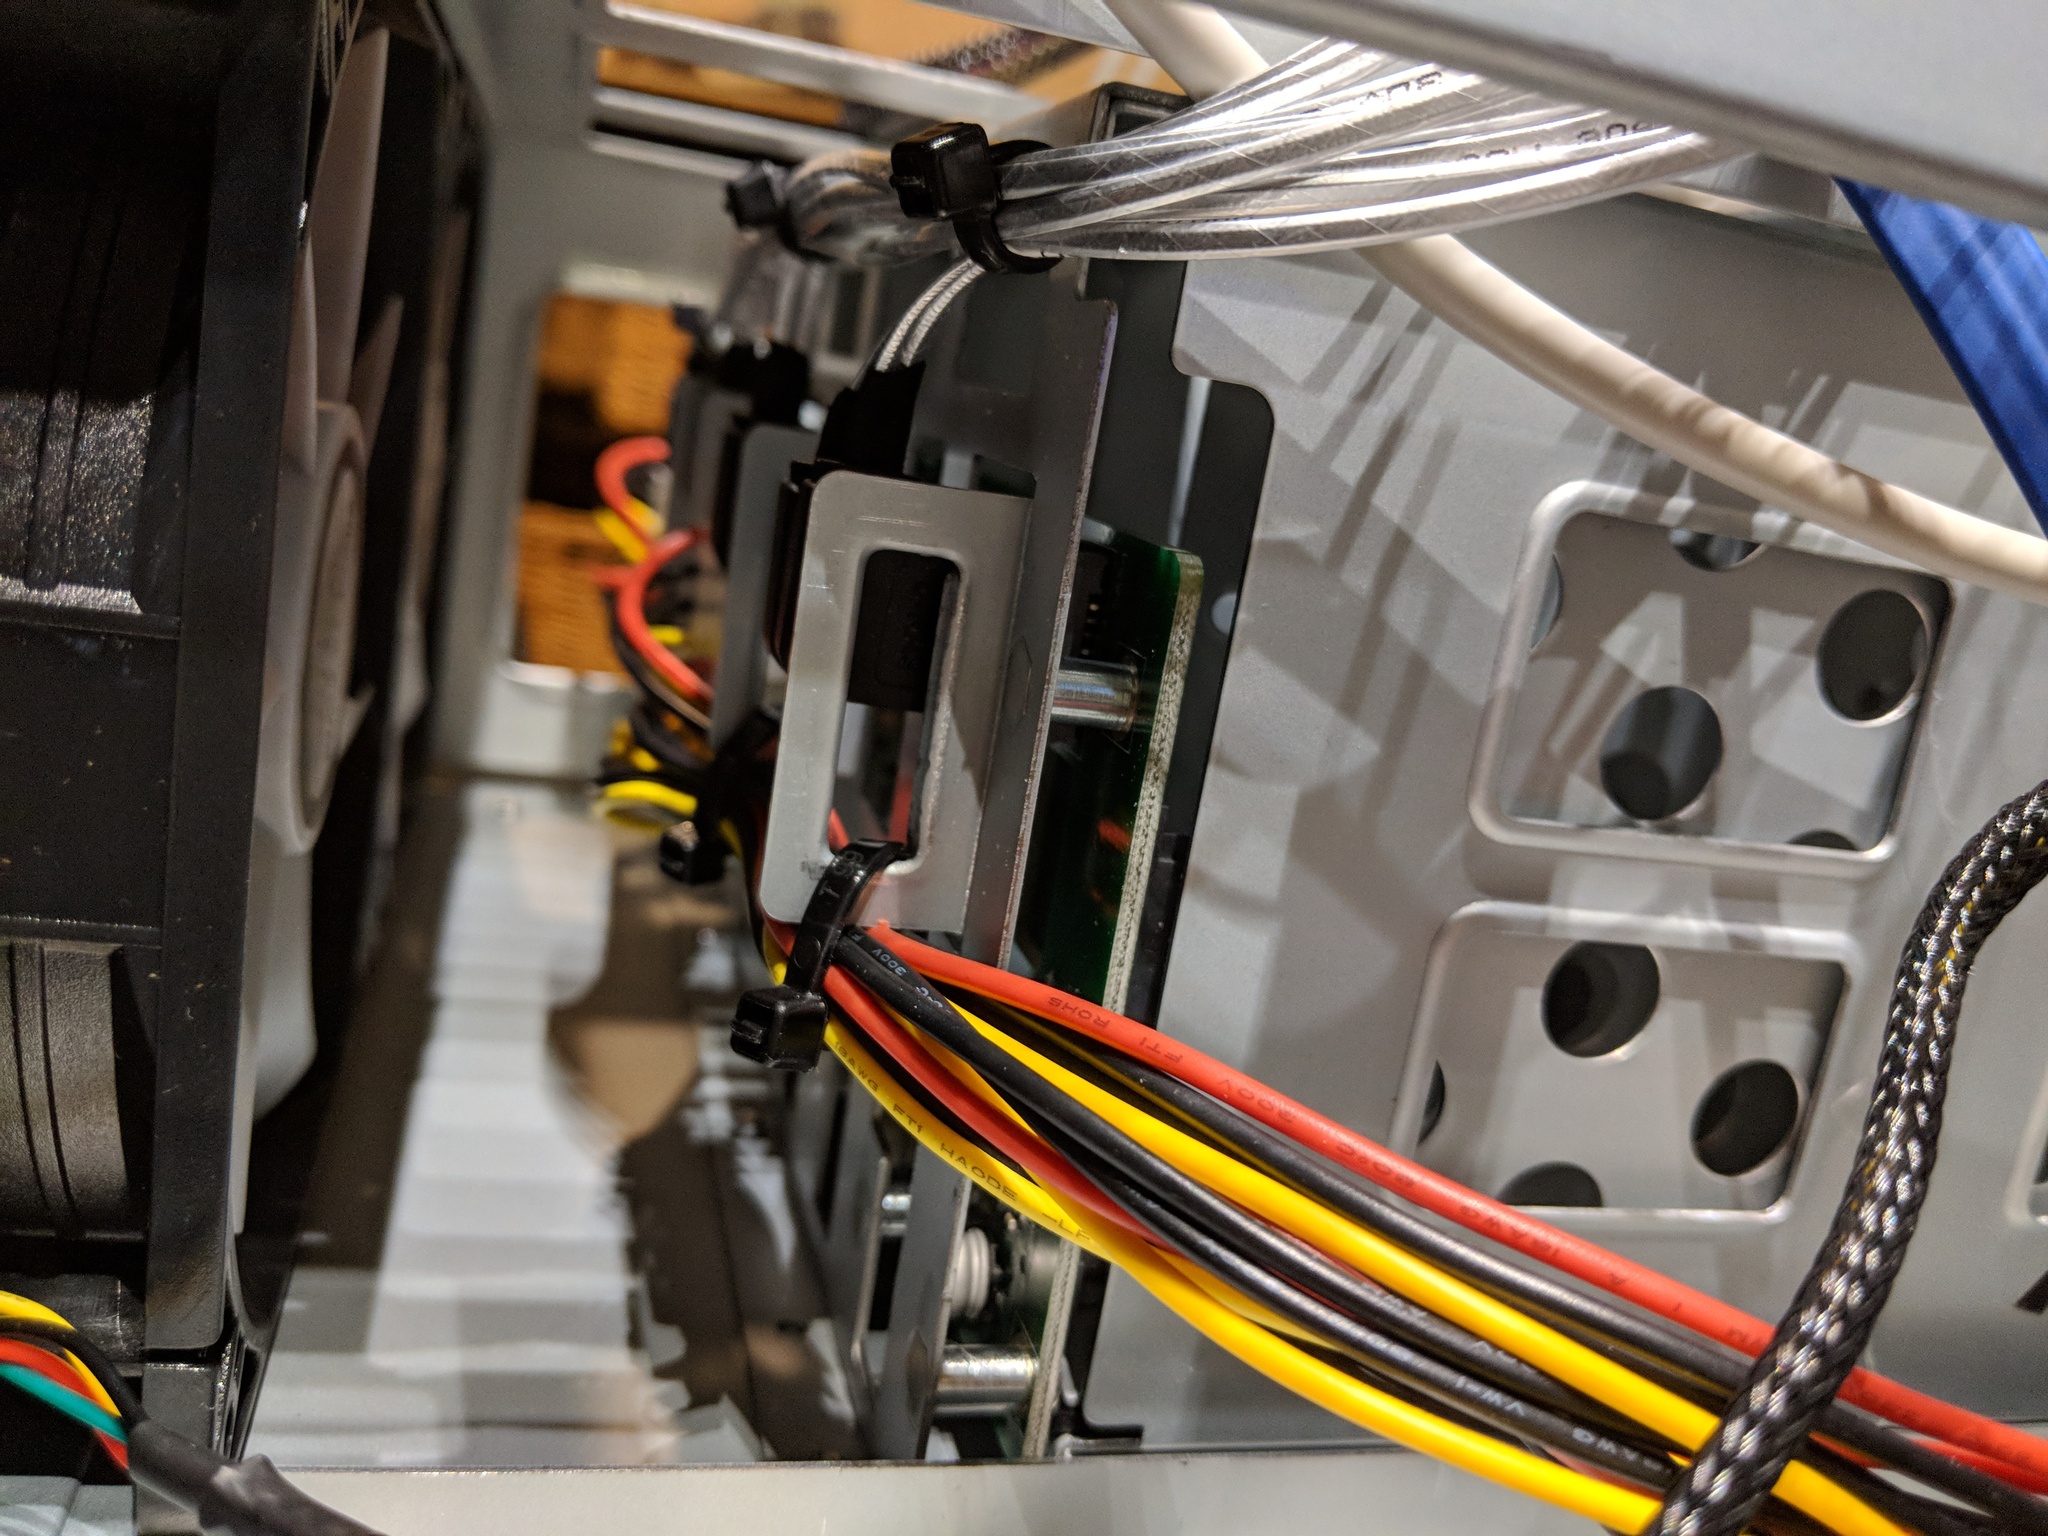
Rear Fan Compartment
The cables shown here include the SATA power cables and the amazingly thin SATA data cables that come with the chassis.
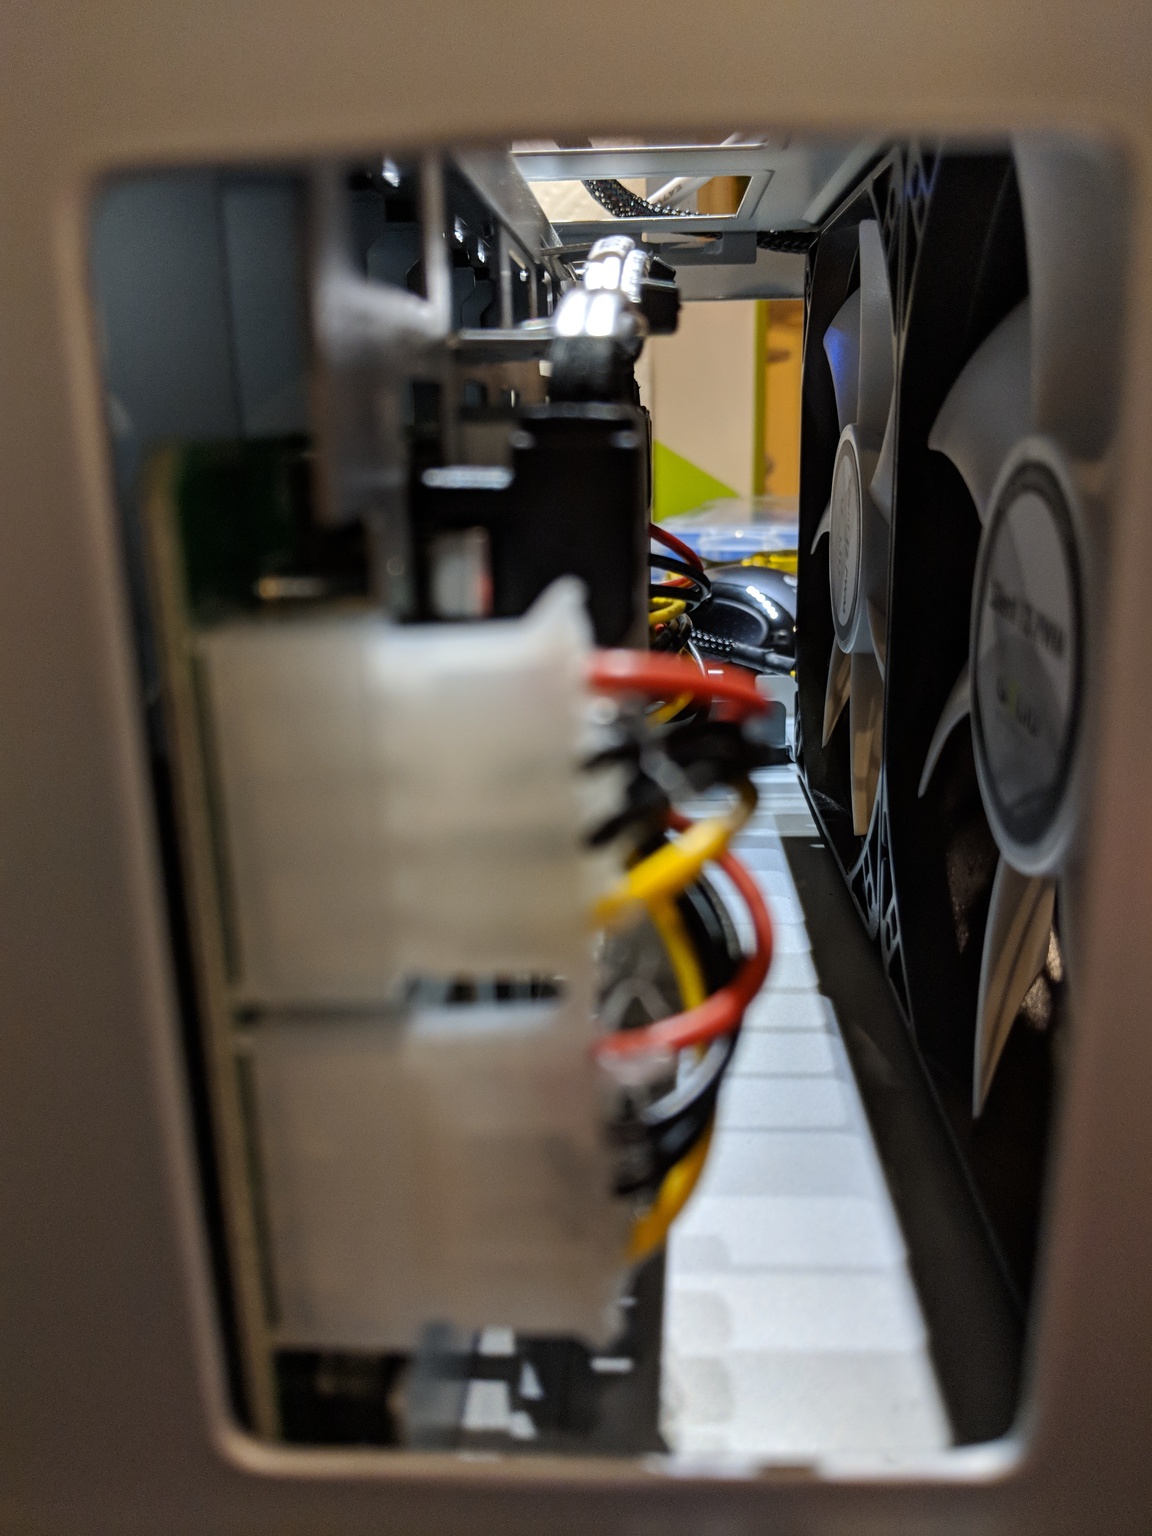
Rear Fan Compartment, Right Side
Another closeup of the rear compartment.
System Hardware
With the chassis decided, the next major decision was the computing components themselves. The SuperMicro X10SDV line of motherboards seemed perfect for this application–a low power (25W) embedded processor had plenty of pep for a vanilla file server. It can handle a up to 128GB of ECC RAM, but for my purposes I wouldn’t need more than 16GB. It also features an M.2 PCI slot, which is great for a small form factor system. In the end, I found a seller on the Freenas forums that had a 2 core X10SDV-2C-TLN2F model and bought it for a great price.
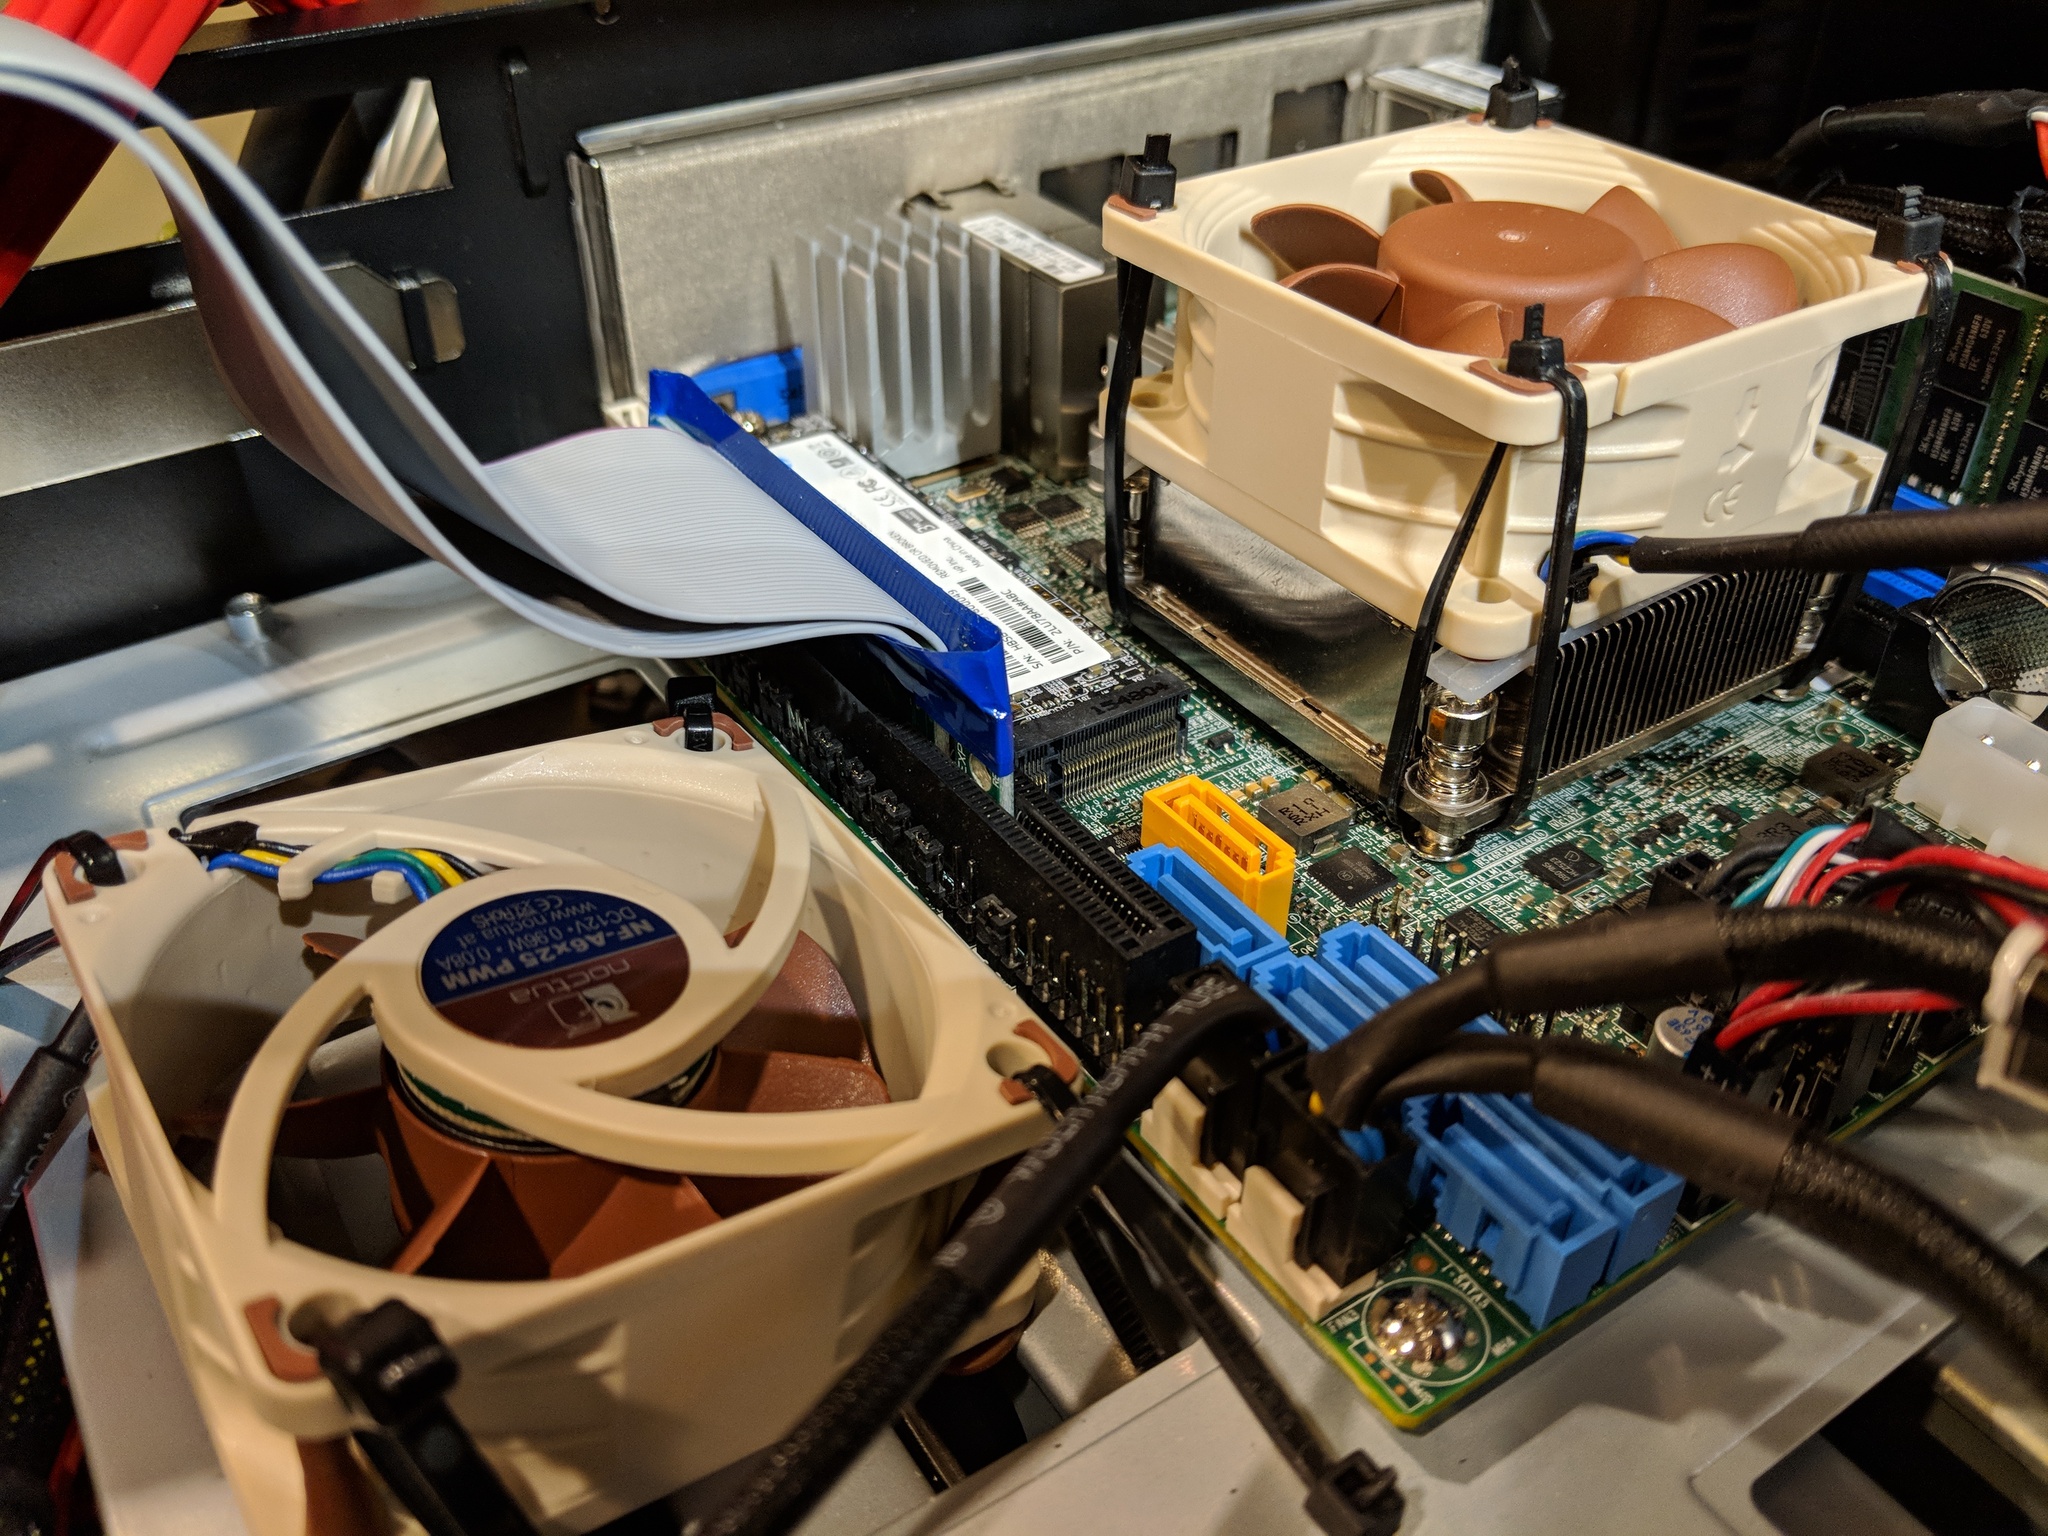
One thing to be aware of–these boards are designed to live in industrial servers with high velocity case fans blowing on them 24⁄7. They come with no active cooling solution, and do not any include standard mounting points to add one. My work around was a Noctua 60mm fan zip-tied to the heat sink, using the silicone fan mounts Noctua ships to mitigate vibration. What it lacks in elegance it certainly makes up for in simplicity.
The remaining hardware was relatively straightforward to pick, with the exception of the HBA (see below). I chose a power supply from Seasonic that another system builder had success with. I have bought many Seasonic power supplies, and have yet to have issues with them. The SSD was the cheapest I could find from a semi-reputable manufacturer. It basically just needed to be more reliable than a USB thumb drive, which is the alternative option for installing the OS. After a string of thumb drive failures causing cryptic errors in my NAS, I will never go that route again. The RAM was a single stick of Kingston ECC, also the cheapest option at the time (though this was unfortunately right in the middle of the RAM shortage, and the price was absurd as a result). For disks, I bought generic cheap desktop drives from Seagate.
While I waited for the arrival of the HBA, I did some burn in testing with the board itself. I installed Ubuntu Server and stress tested the RAM, CPU and SSD. Everything worked without issue.
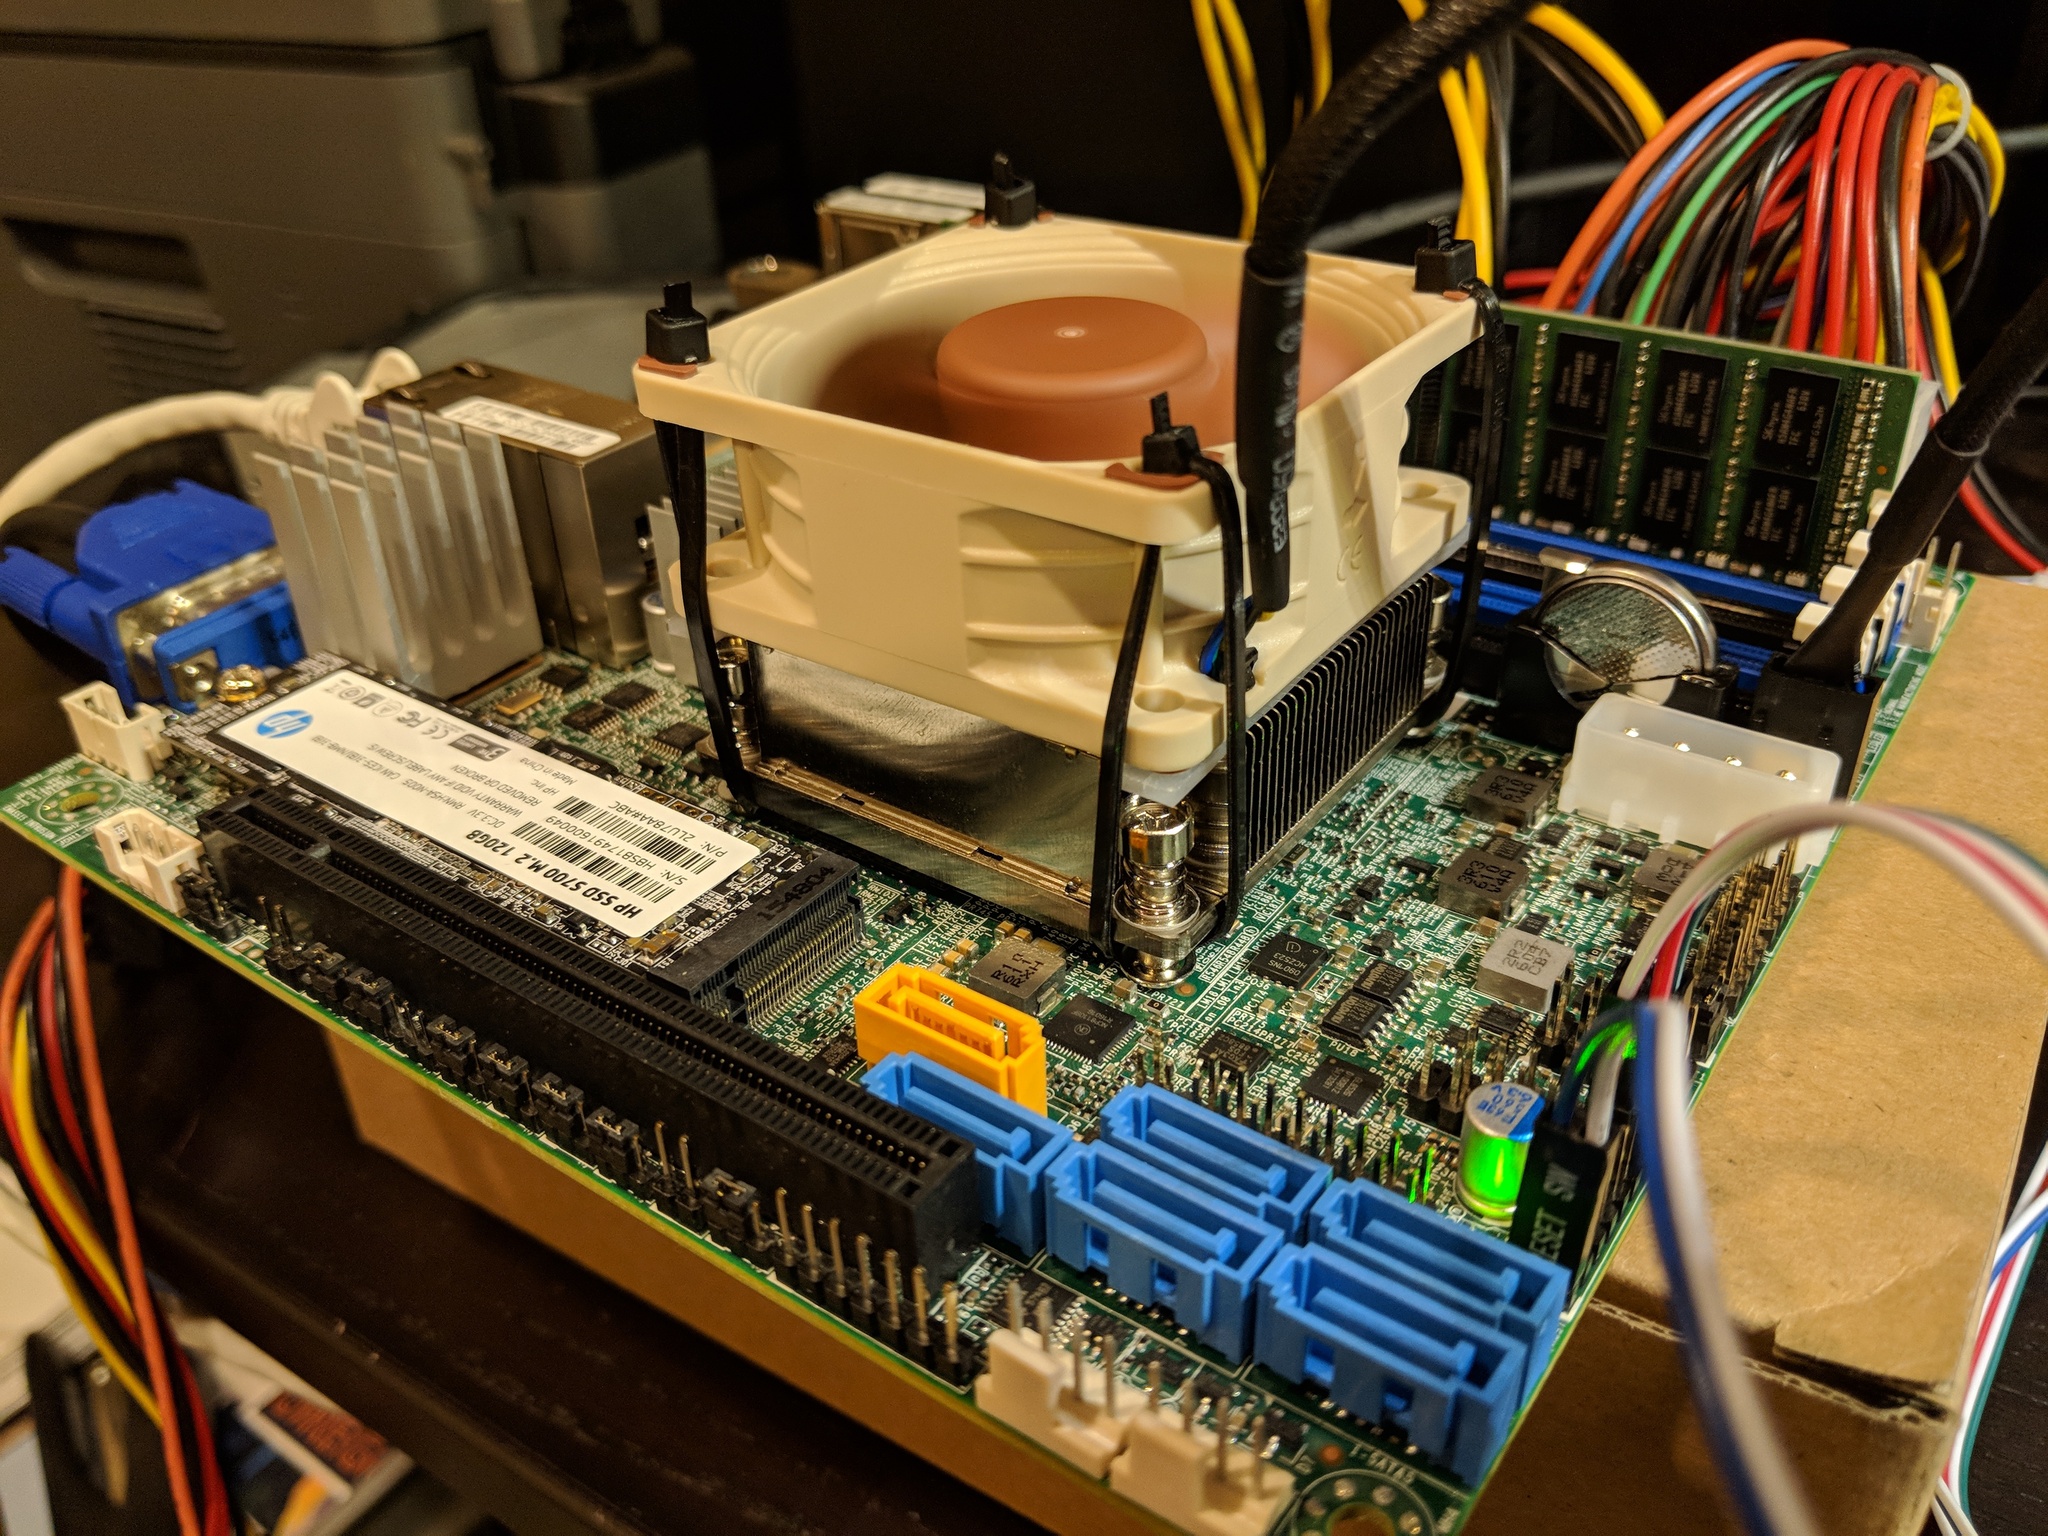
CPU Cooler
Zip ties are not an elegant solution, but an effective one.
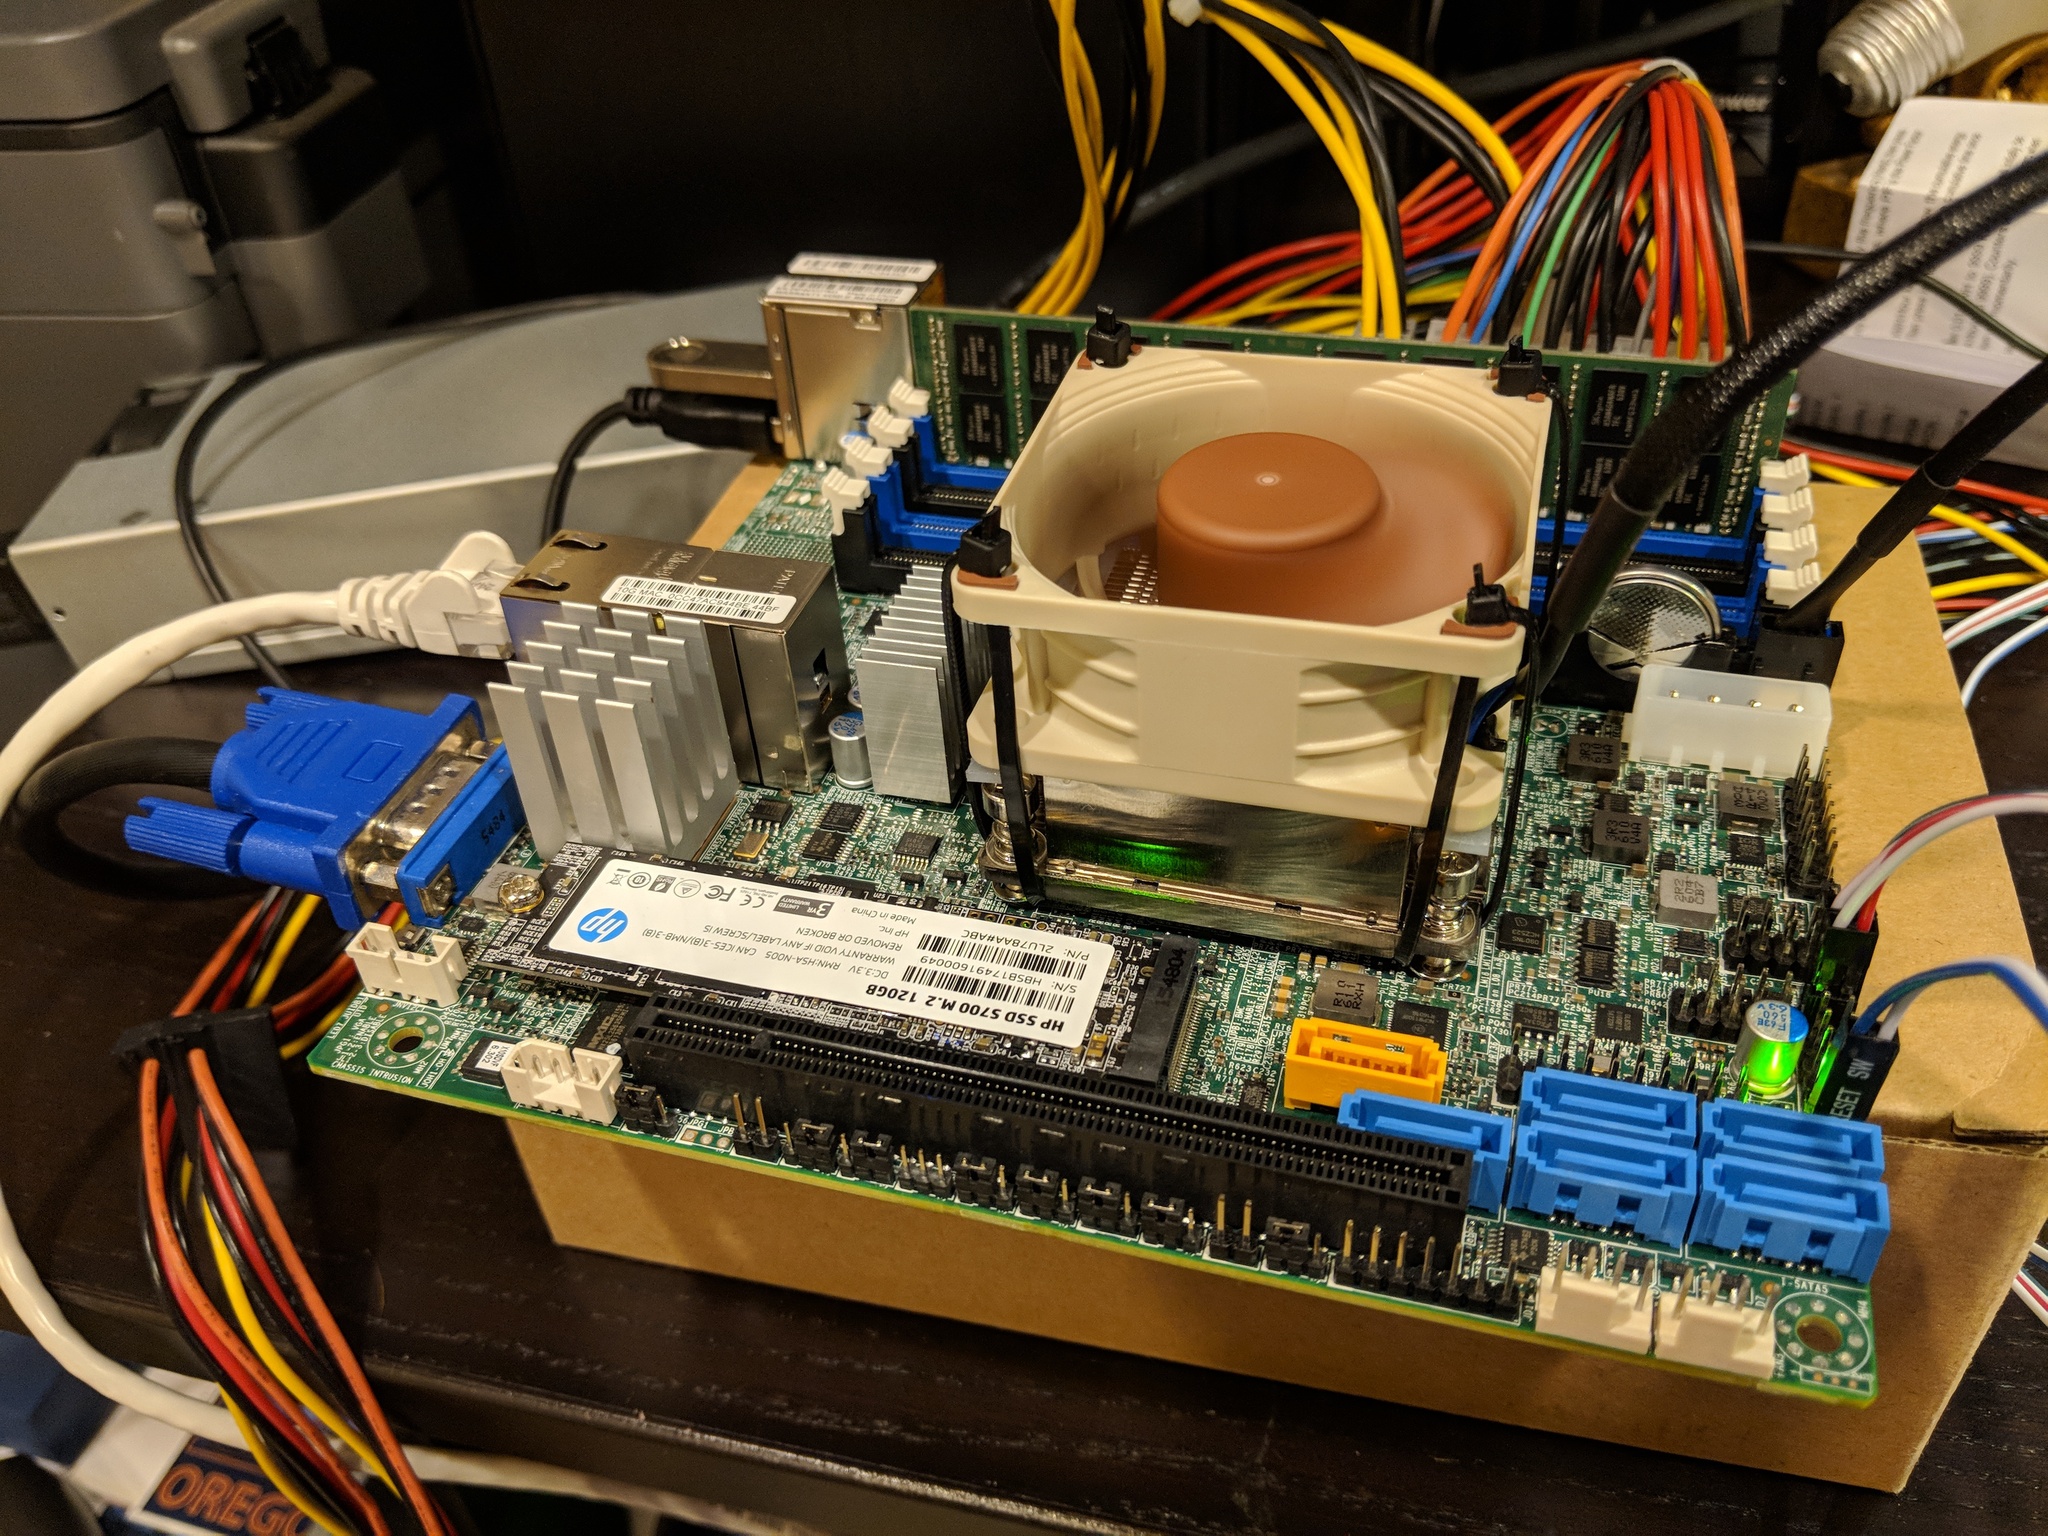
Test Bench
The initial burn in testing of the motherboard/ram/SSD went smoothly.
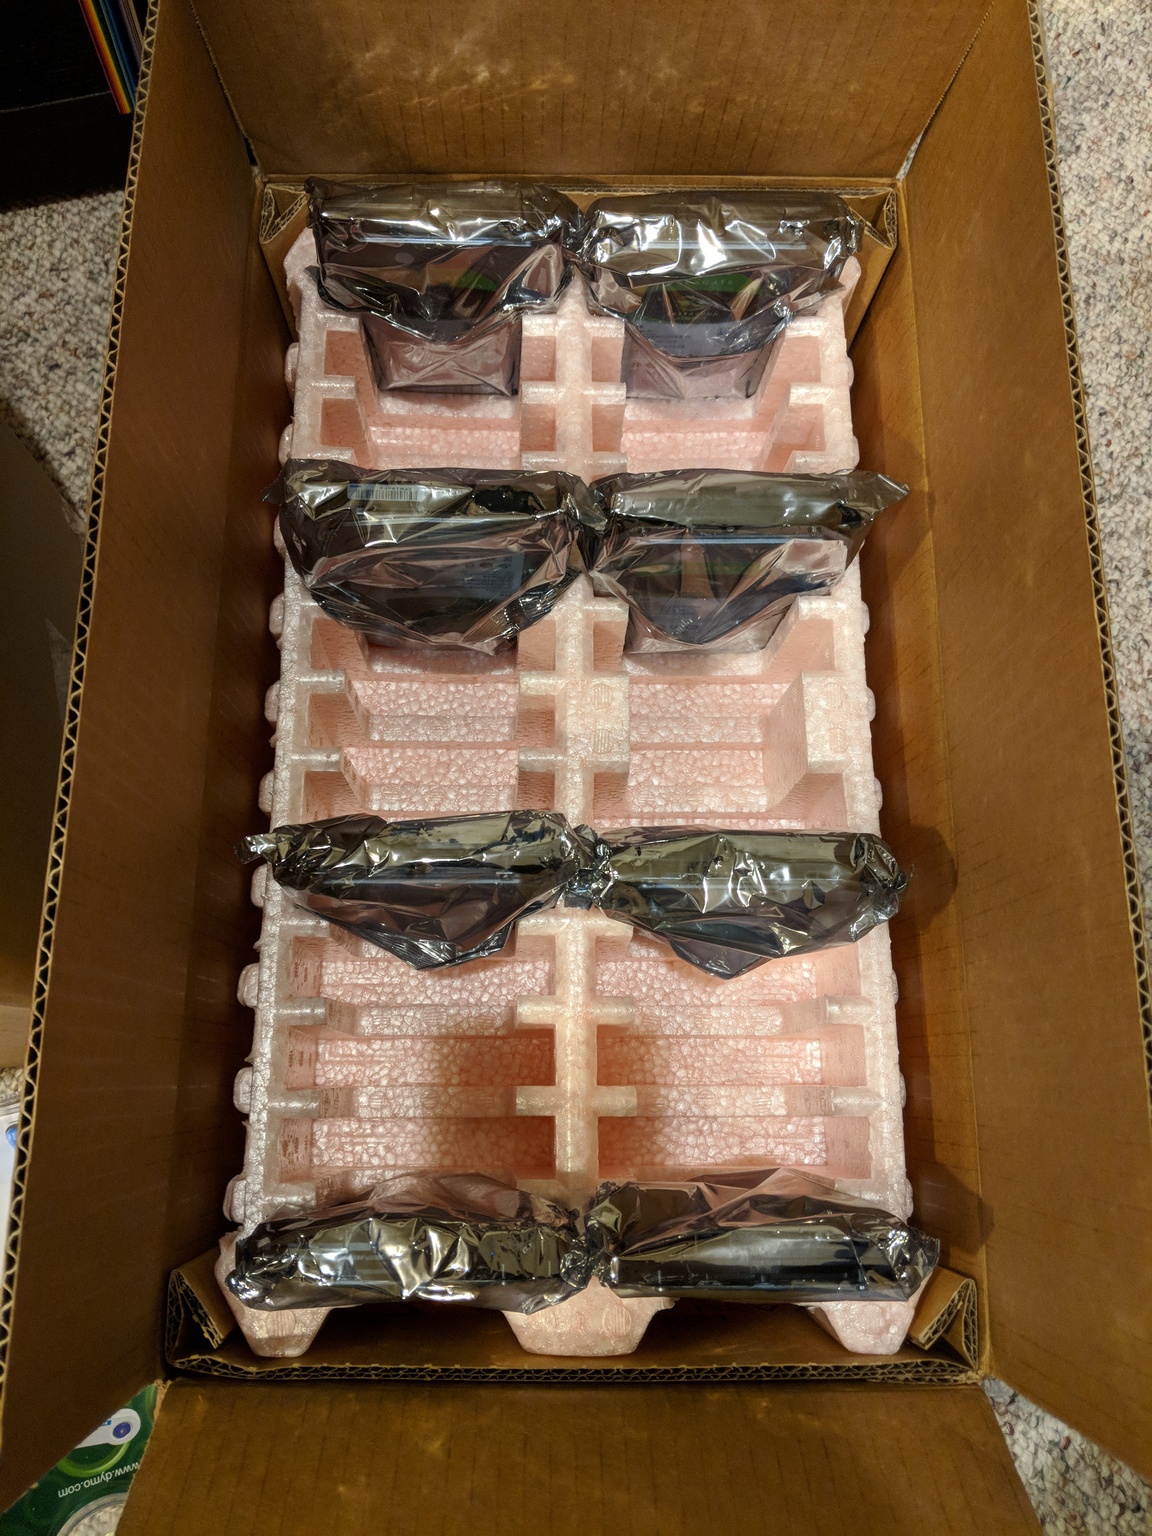
The Disks
With the arrival of the disks (by far the most expensive component of the project), things were starting to move quickly.
HBA and Final Build
The biggest wild card in this build for me was definitely the HBA. I had never worked with one before, and am unfamiliar with the brands and technology involved. Luckily, the issue is documented fairly well at both ServeTheHome and the Freenas Forums. In the end, I found a used LSI SAS 9211-8i on Ebay. On arrival, I plugged it in and booted up. Re-flashing it with the correct firmware was a bit of a chore, but the instructions in the second link above are easy enough to follow. It immediately recognized all the disks, and in general was much less of a pain to deal with than I expected.
I had found many people online talking about how hot these cards get, and mine was no exception. Like the SuperMicro motherboard, these devices are designed to be used in commercial chassis that are ventilated by noisy, powerful fans. To deal with this, I first removed the heat sink, cleaned off the old, crusty thermal interface material and applied some new thermal paste. Next, I once again resorted to zip ties to place another 60mm fan directly underneath the heat sink. That done, there is a steady stream of air blowing directly across the HBA’s heat sink, which will have to be good enough.
I spent quite a bit of time tying to find a way to monitor the temperature of the card. This machine would be running remotely after all, and I found more than one dire warning about corrupted data if it overheated. However, I couldn’t find any indication that this card even includes a temperature sensor. None of the available management software I could find for FreeBSD appears to have a way of reading it if it does exist. I cannot fathom a scenario where a commercial venture would not want to monitor the temperatures of this device, so I assume I have just missed something.
The last step was to organize the cabling as much as possible given the limited space, reattach the cover and install the final operating system. For this build, Freenas was an obvious choice for me. It is simple to set up and manage, offers very easy to configure SMB network shares, plus all the goodness of ZFS.
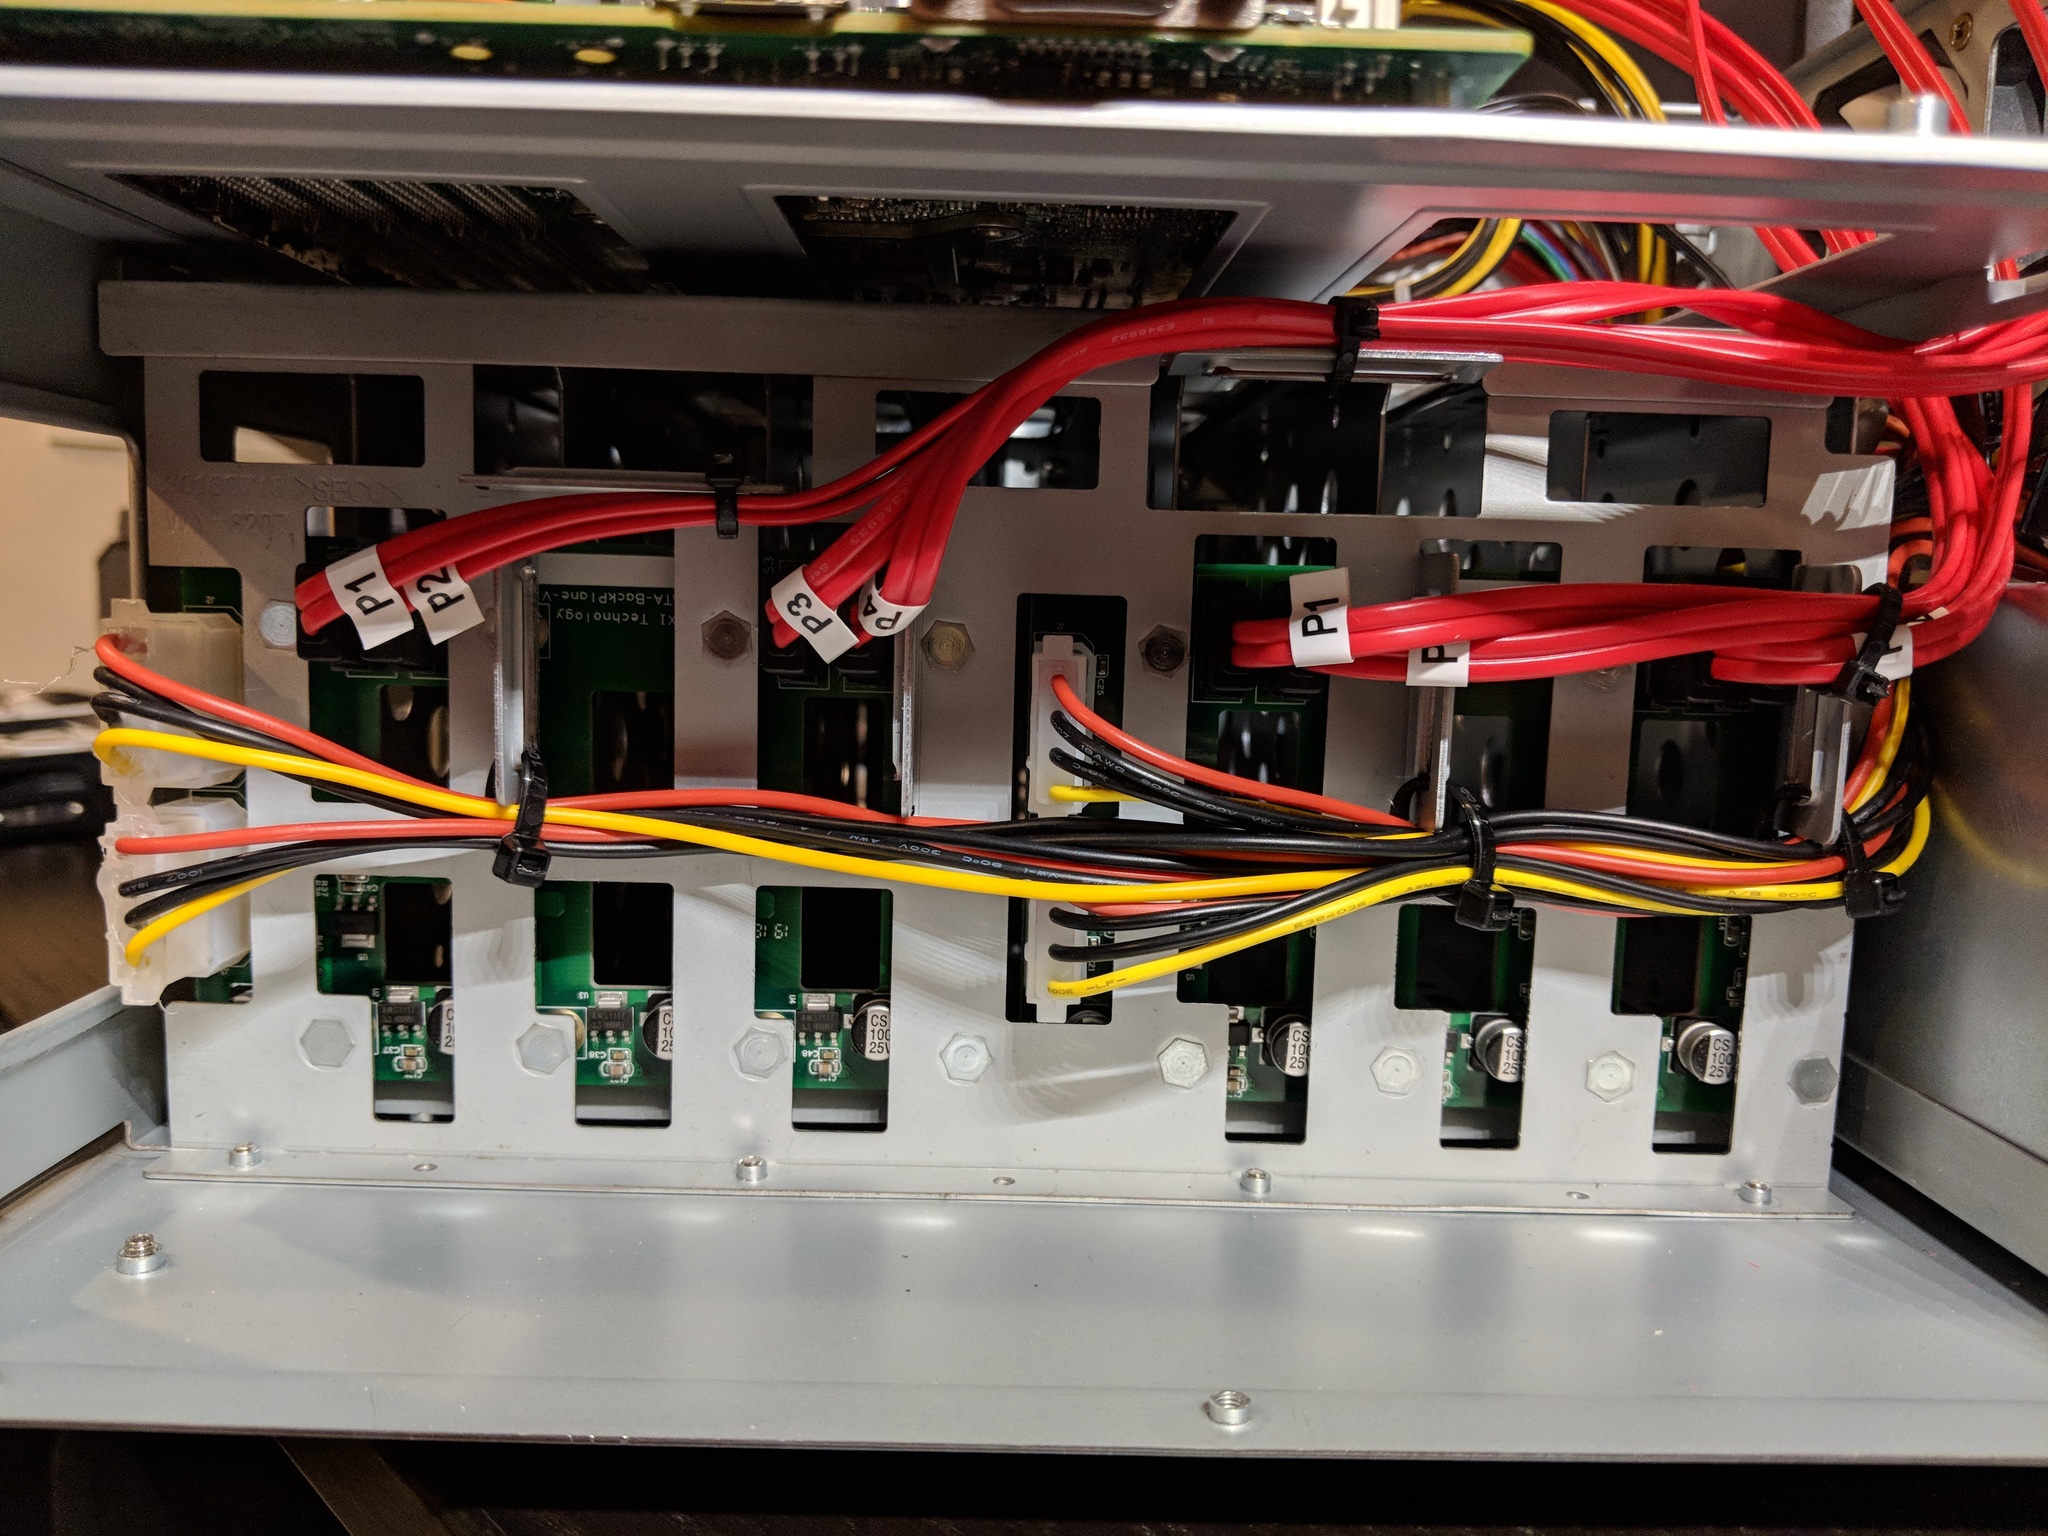
Disk Backplane
Removing the rear fans allows access to the cabling from the backplane.
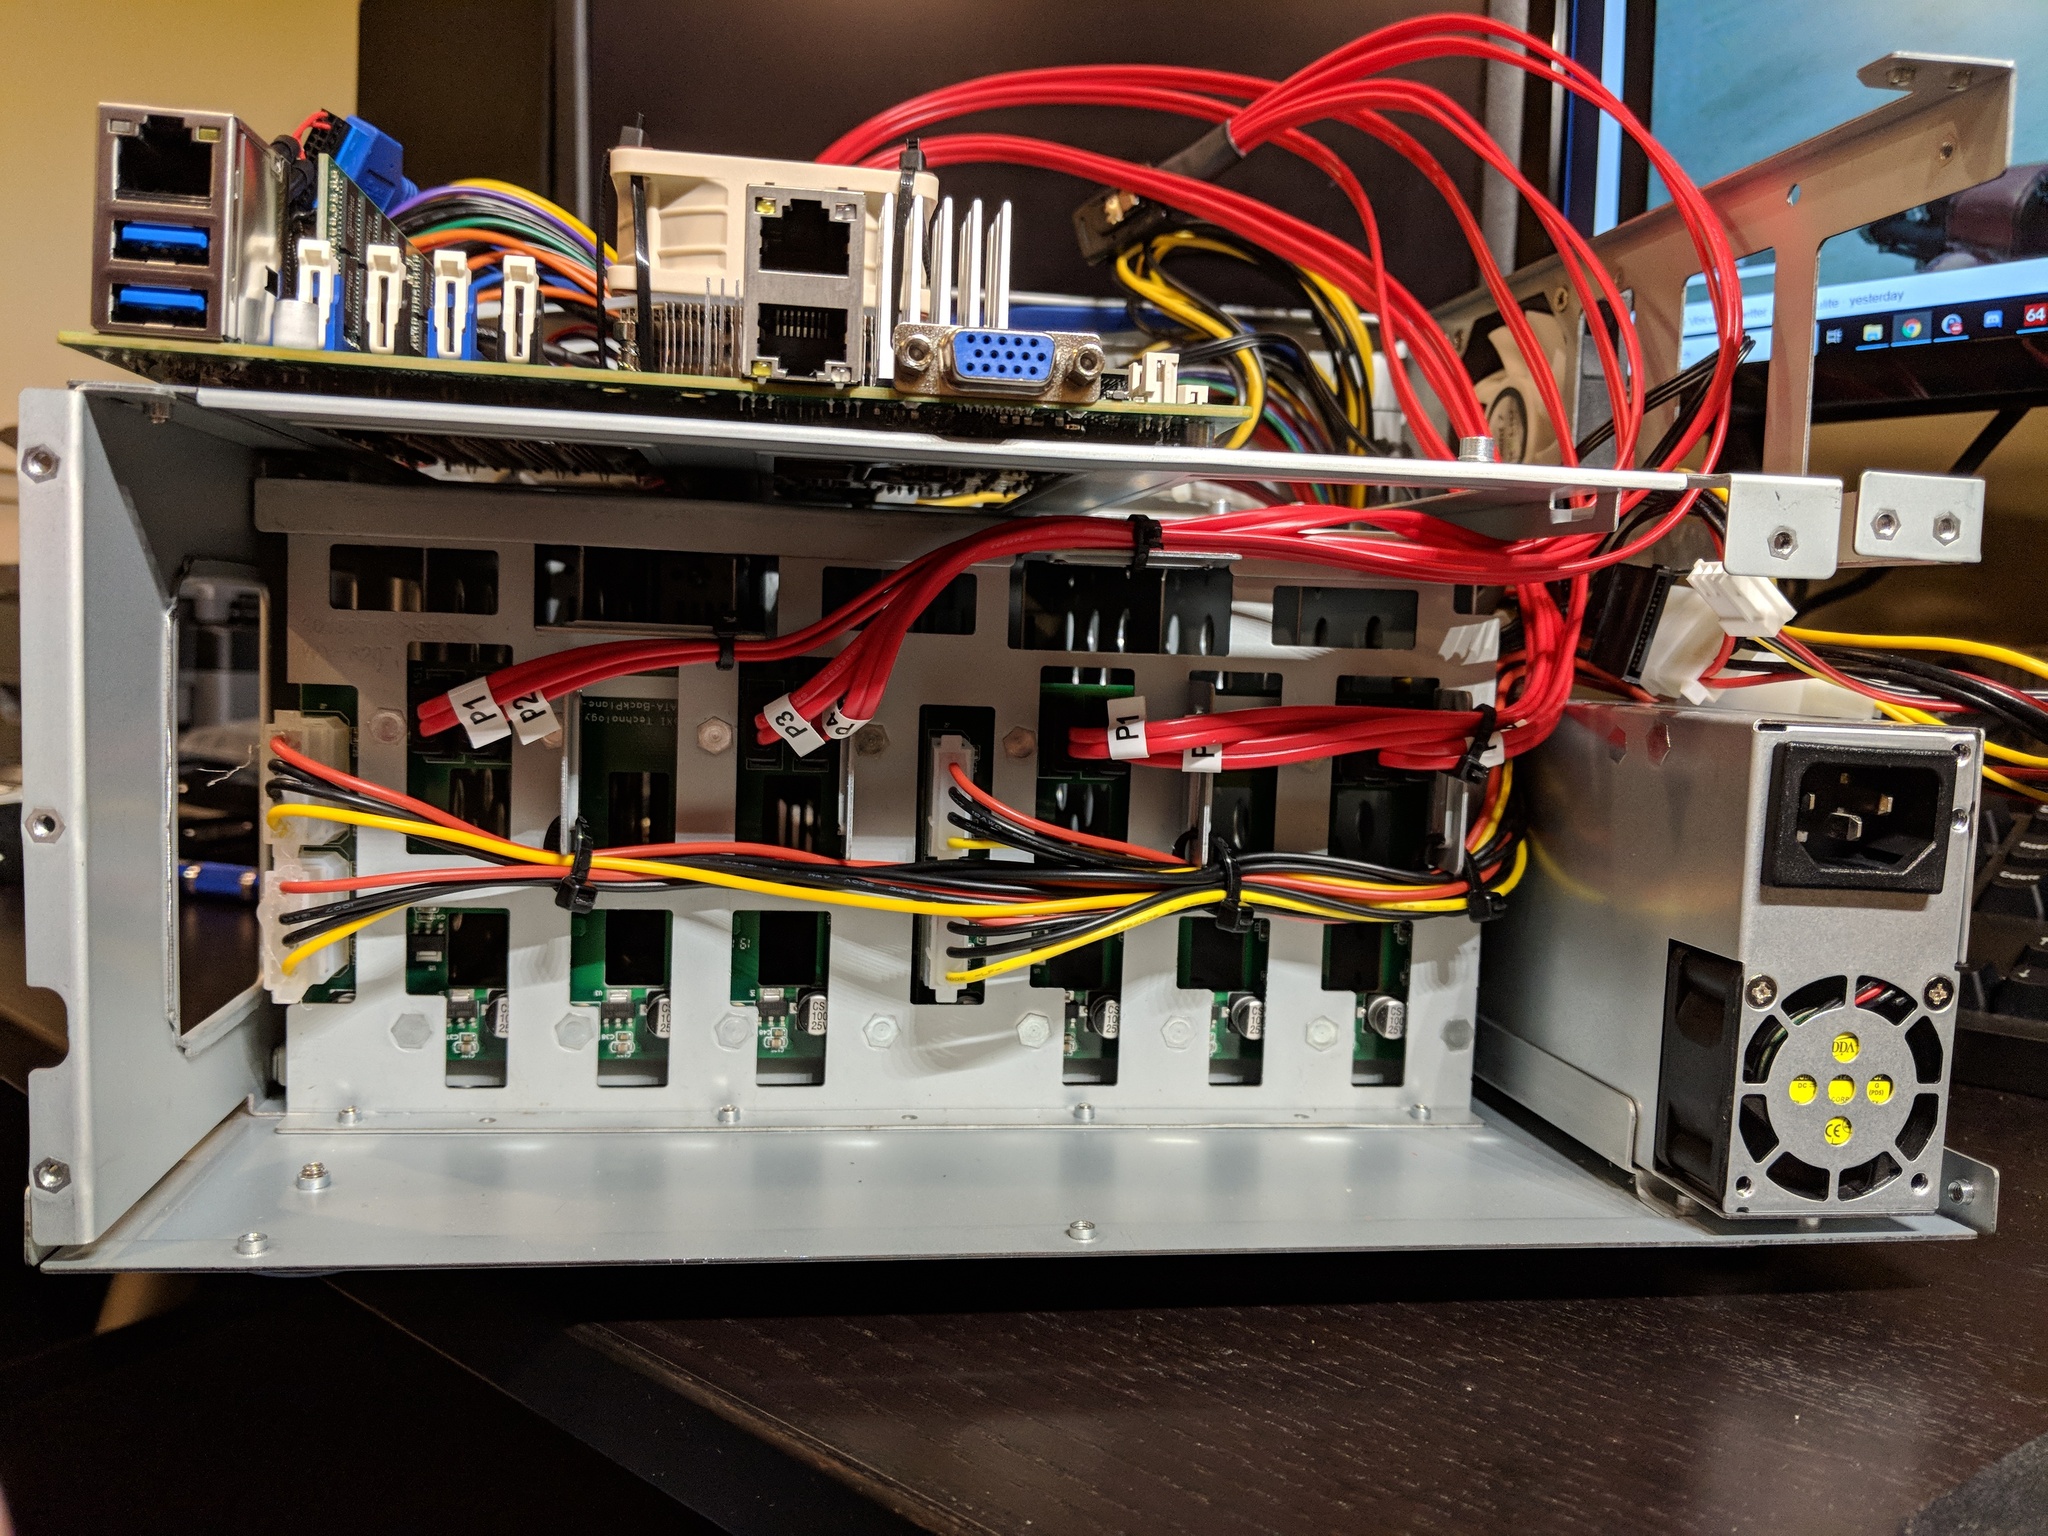
Backplane and Motherboard
A wider shot including the motherboard IO and power supply.
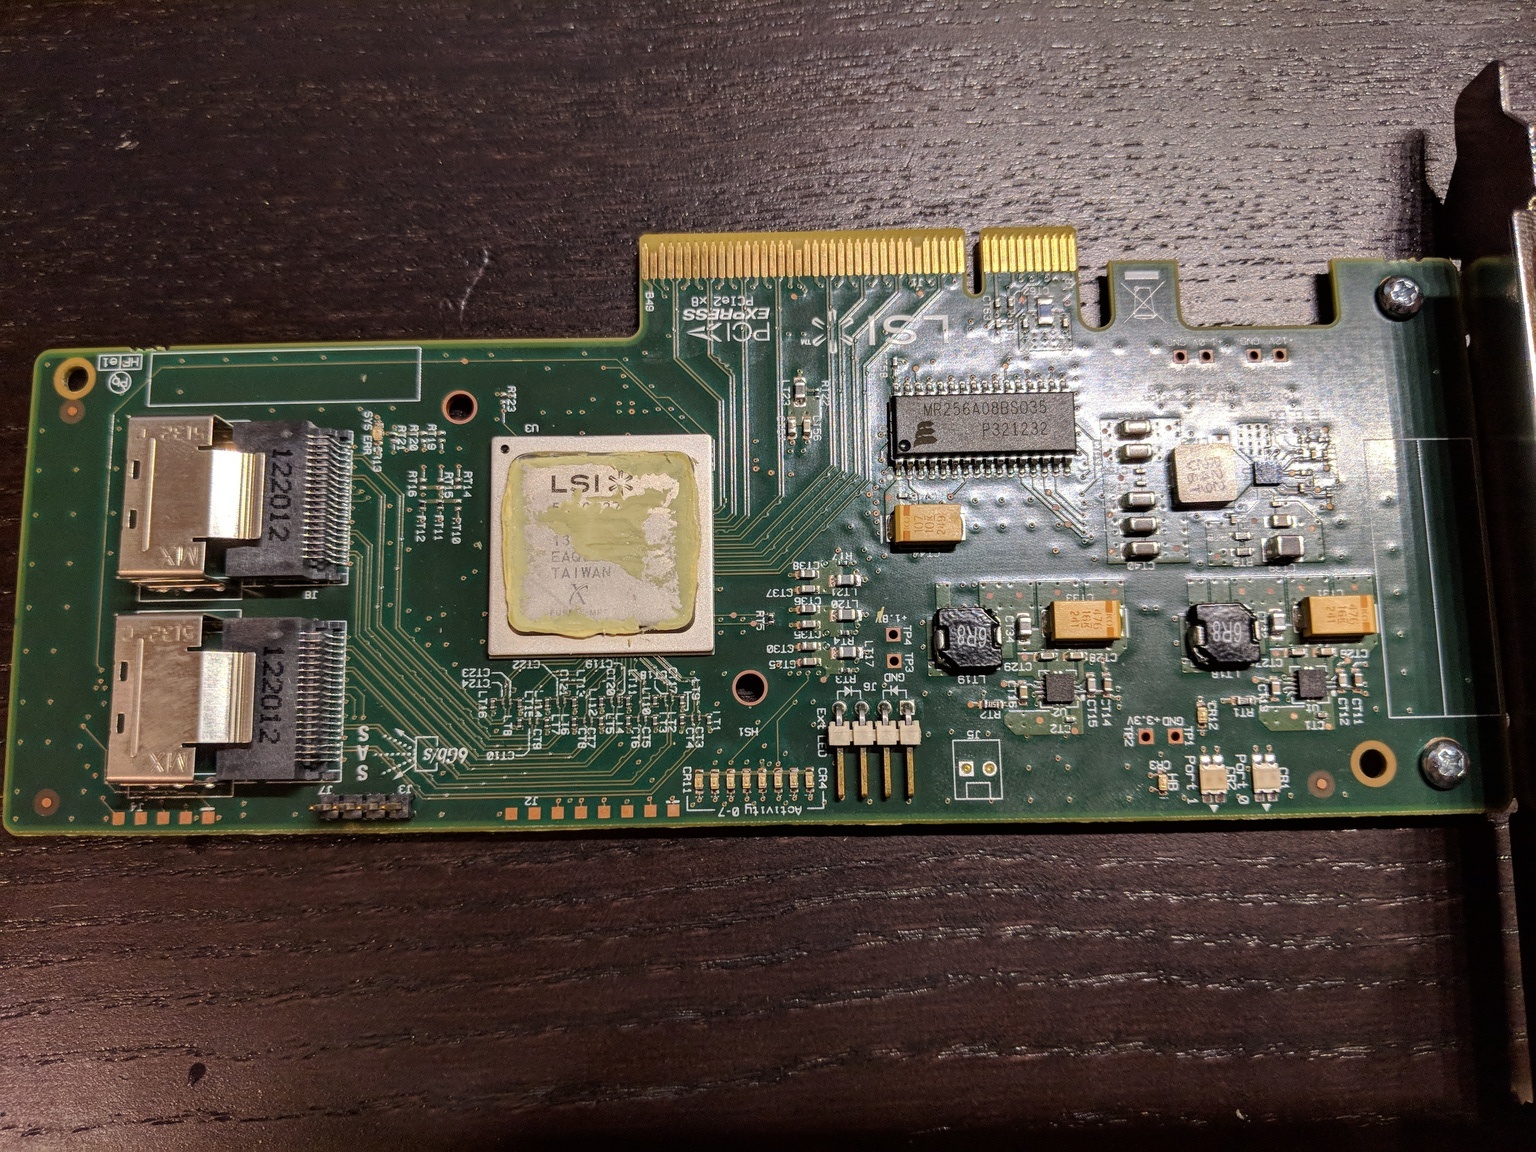
LSI SAS 9211-81
This was taken with the heat sink removed, before I ultimately replaced the old yellow thermal interface material.
HBA Fan Placement
To cool the LSI card, I affixed another 60mm fan blowing up directly below the heat sink.
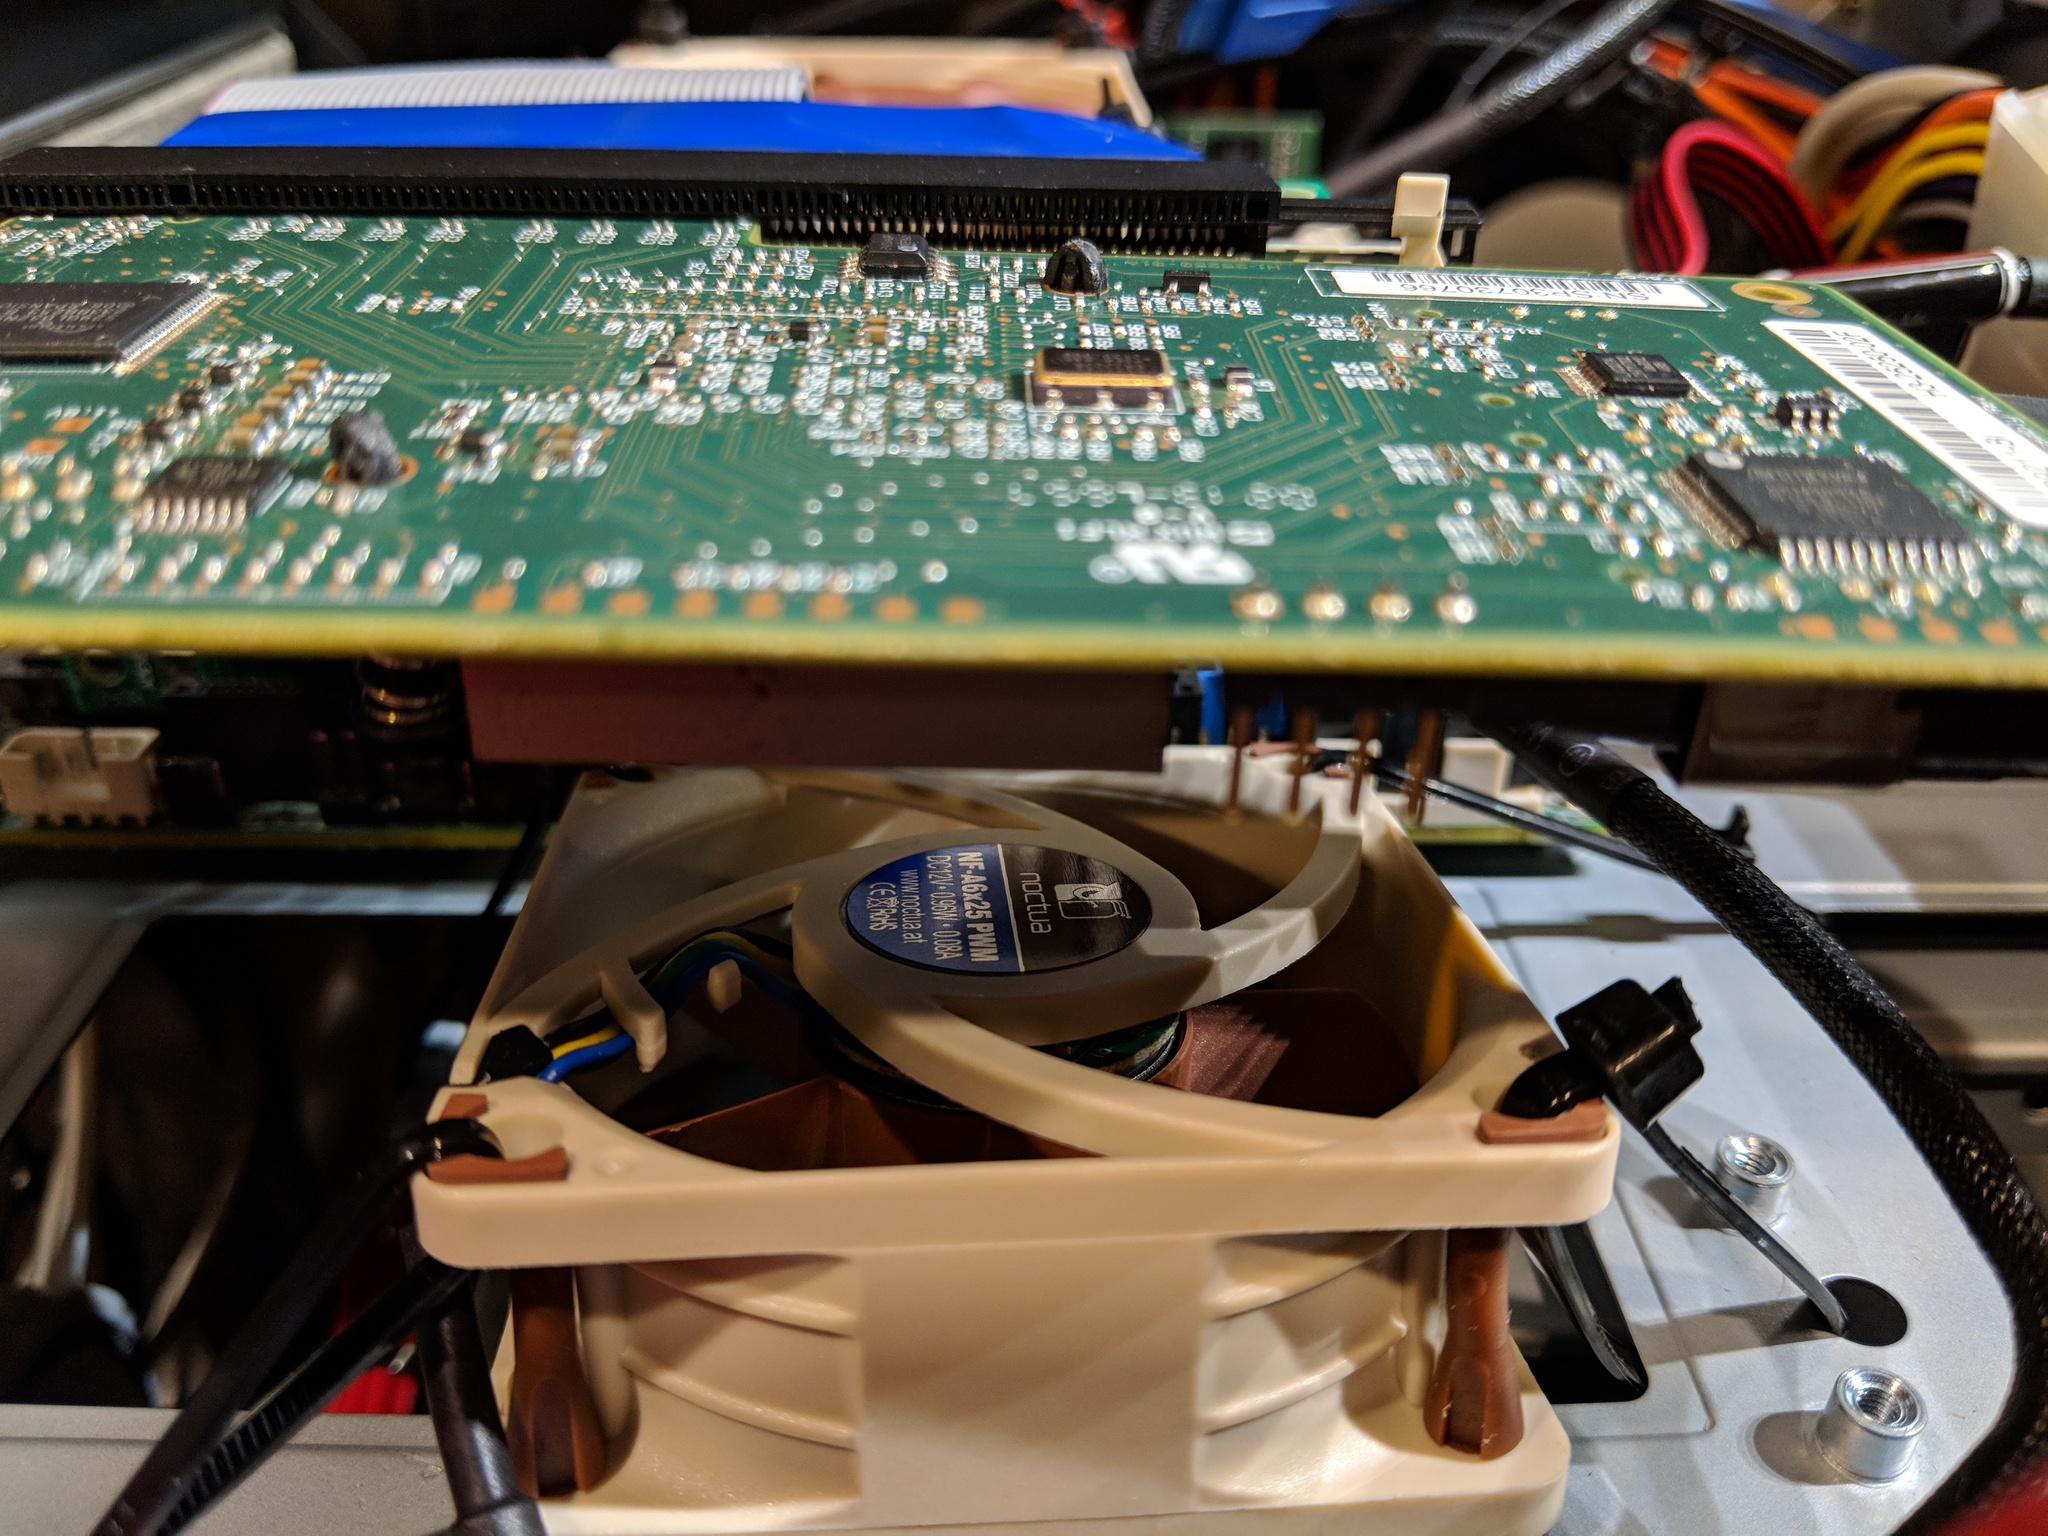
Cooling the HBA Card
The card is notoriously hot, so directed airflow seemed like the safest option.
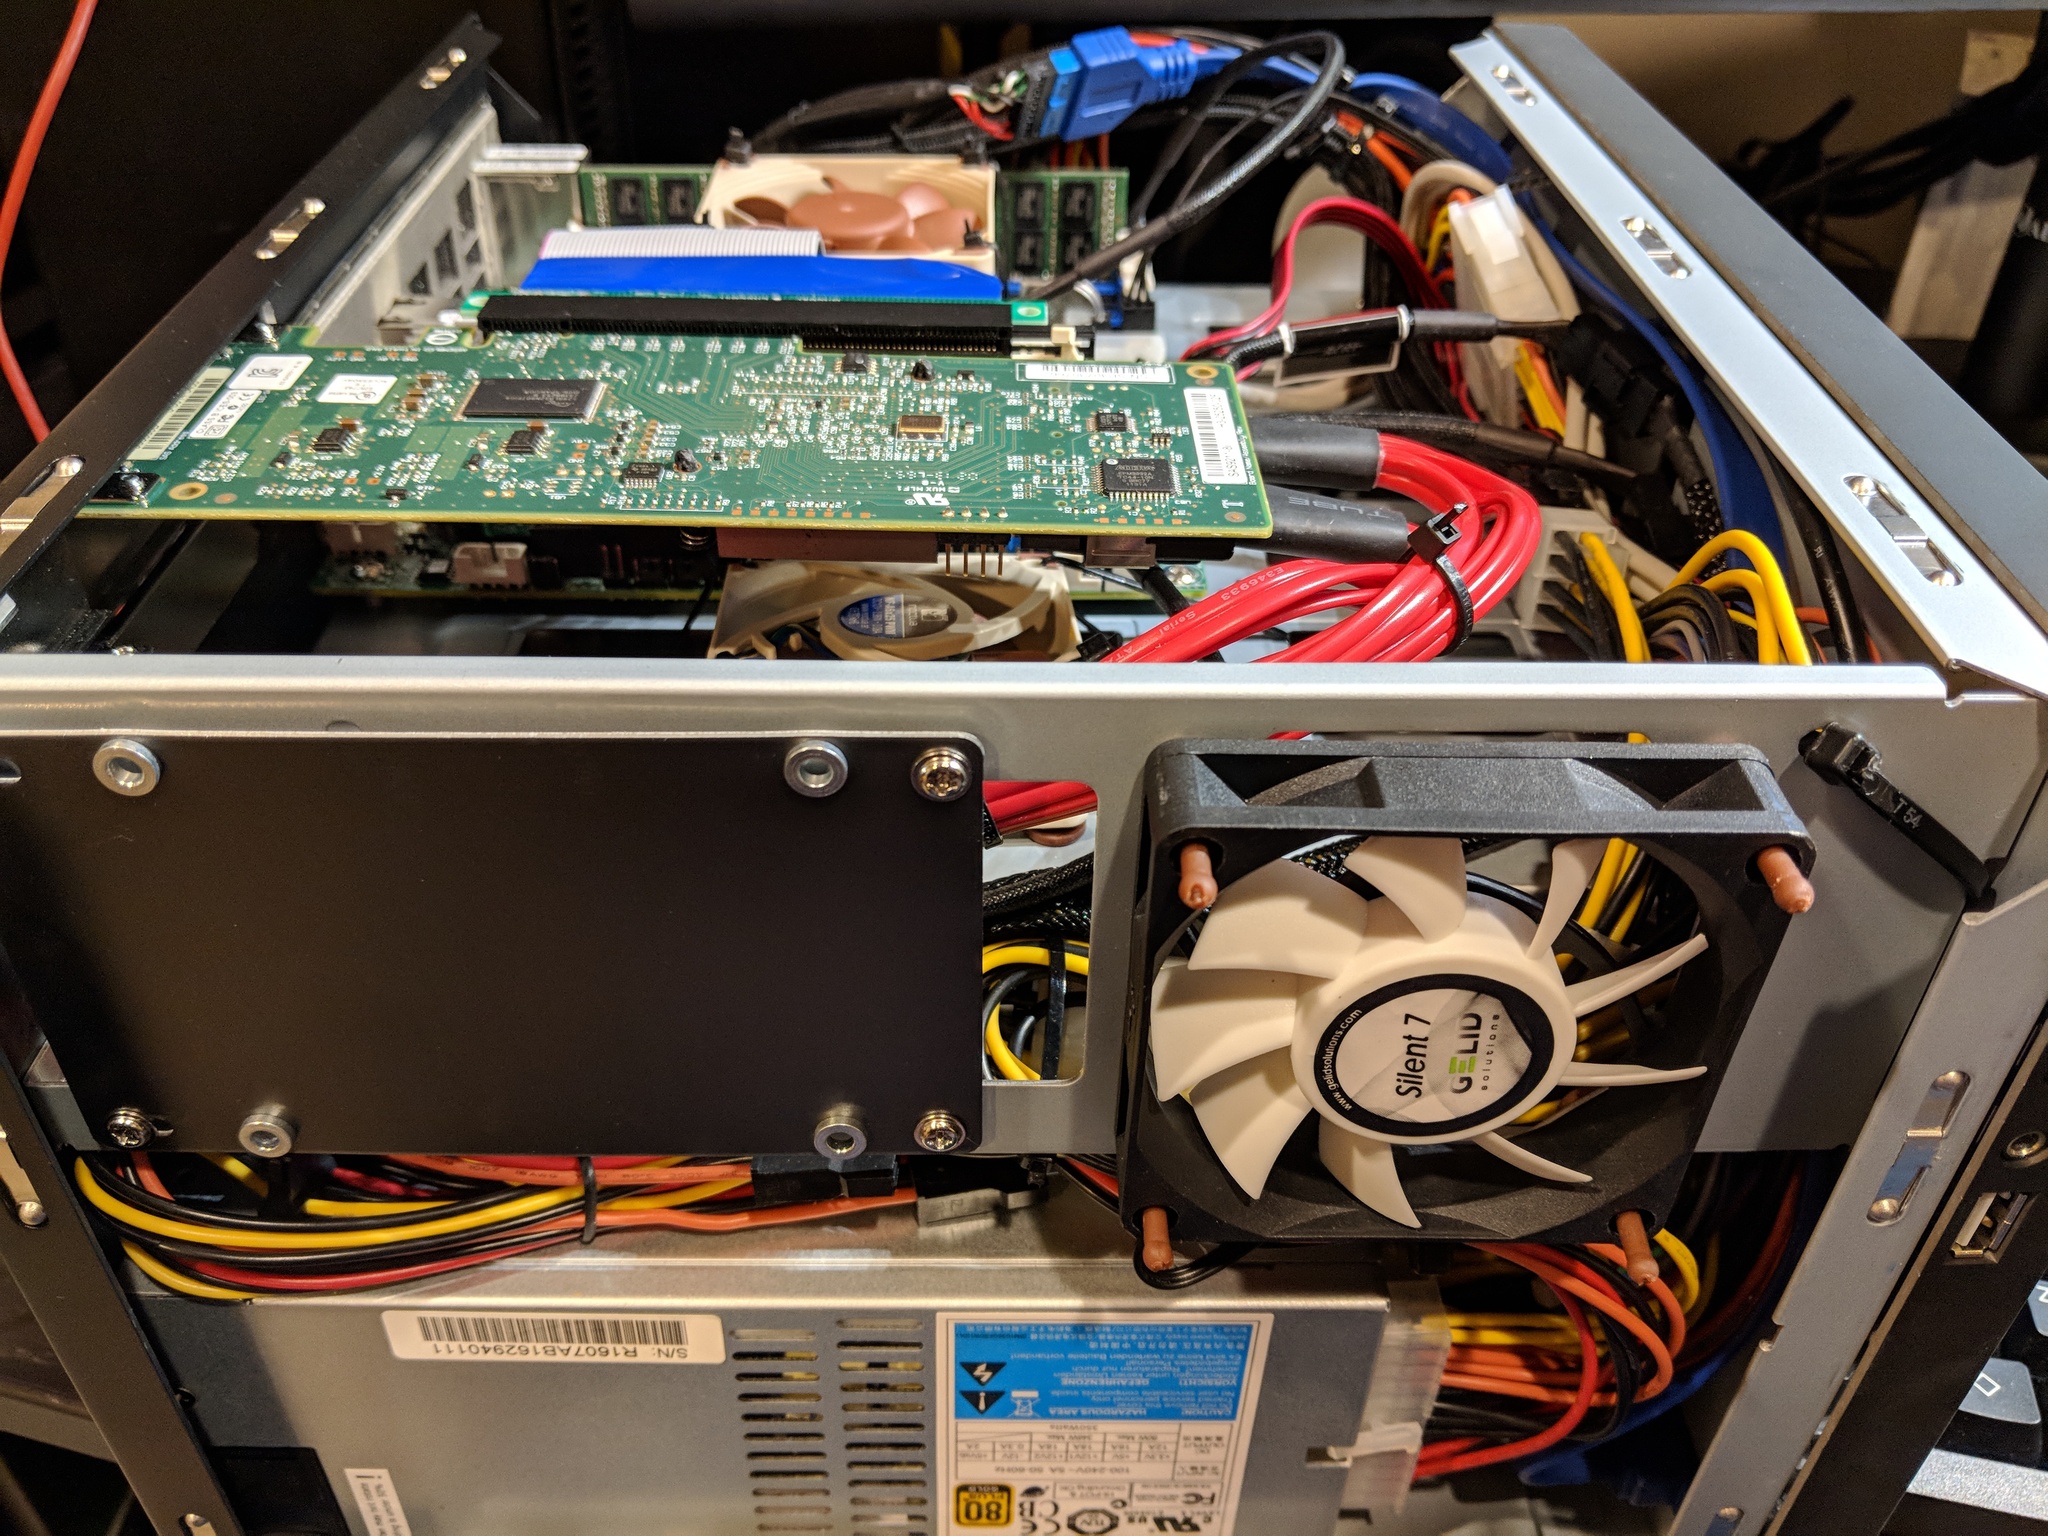
Fully Assembled
Here the machine is fully assembled and ready to re-install the cover.
Conclusion
In the end, I had 20TB of dependable off-site storage for backups. I will go in to the details of how the replication works in another post. As of June, 2019, the system has been running quietly without any issue. See the table below for details on the equipment I ended up purchasing.
| Type | Item | Price |
|---|---|---|
| Chassis | U-NAS NSC-810A | $245.00 |
| Memory | Kingston - 16 GB (1 x 16 GB) Registered DDR4-2133 Memory | $203.69 |
| Storage | 8x Seagate - BarraCuda 4 TB 3.5” 5400RPM Internal Hard Drive | $835.92 |
| System Disk | HP SSD S700 M.2 2280 120GB SATA | $51.08 |
| Motherboard | SuperMicro X10SDV-2C-TLN2F | $195.00 |
| Power Supply | SeaSonic SS-350M1U 350W 80 PLUS | $64.99 |
| HBA | LSI SAS 9211-8i 8-port 6Gb/s PCI-E Controller Card | $44.88 |
| Cabling | 2x Athena Power 6G Data Cable for RM-3U8G1043 0.5M Mini SAS | $13.00 |
| Fans | 2x Noctua 60mm PWM | $32.92 |
| UPS | CyberPower 1325 VA 810 Watts GX1325U | $127.70 |
| Total | $1814.10 |
Though a major investment, I expect it to run without issue for years. I now have a replication target for hourly snapshots of my home NAS, and my father now has SMB shares mounted on all of his Windows machines where he can reliably store data. With this under my belt, I can’t help but wonder how to convince my sister to plug in another NAS in her home across the country. Cross continental replication! Another day perhaps…